Ray Truong
Marketing & Brand Designer
Creative technologist specializing in translating business objectives into visual, revenue-generating systems.

About Me
Creative Technologist
Every client and campaign over the years has cumulatively shaped how I approach my work. My background in sales and marketing, combined with hands-on design and development experience, gives me a firsthand understanding of how attention drives customer acquisition, and how different pieces of a brand system fit together to profitably scale a company.
Designs should look good, but they also need to be functional. The projects within this site are a collection of some of my most beloved work, with each one demonstrating the results of great ideas discovering the right partner to execute.

Skill Stack
Who You Are
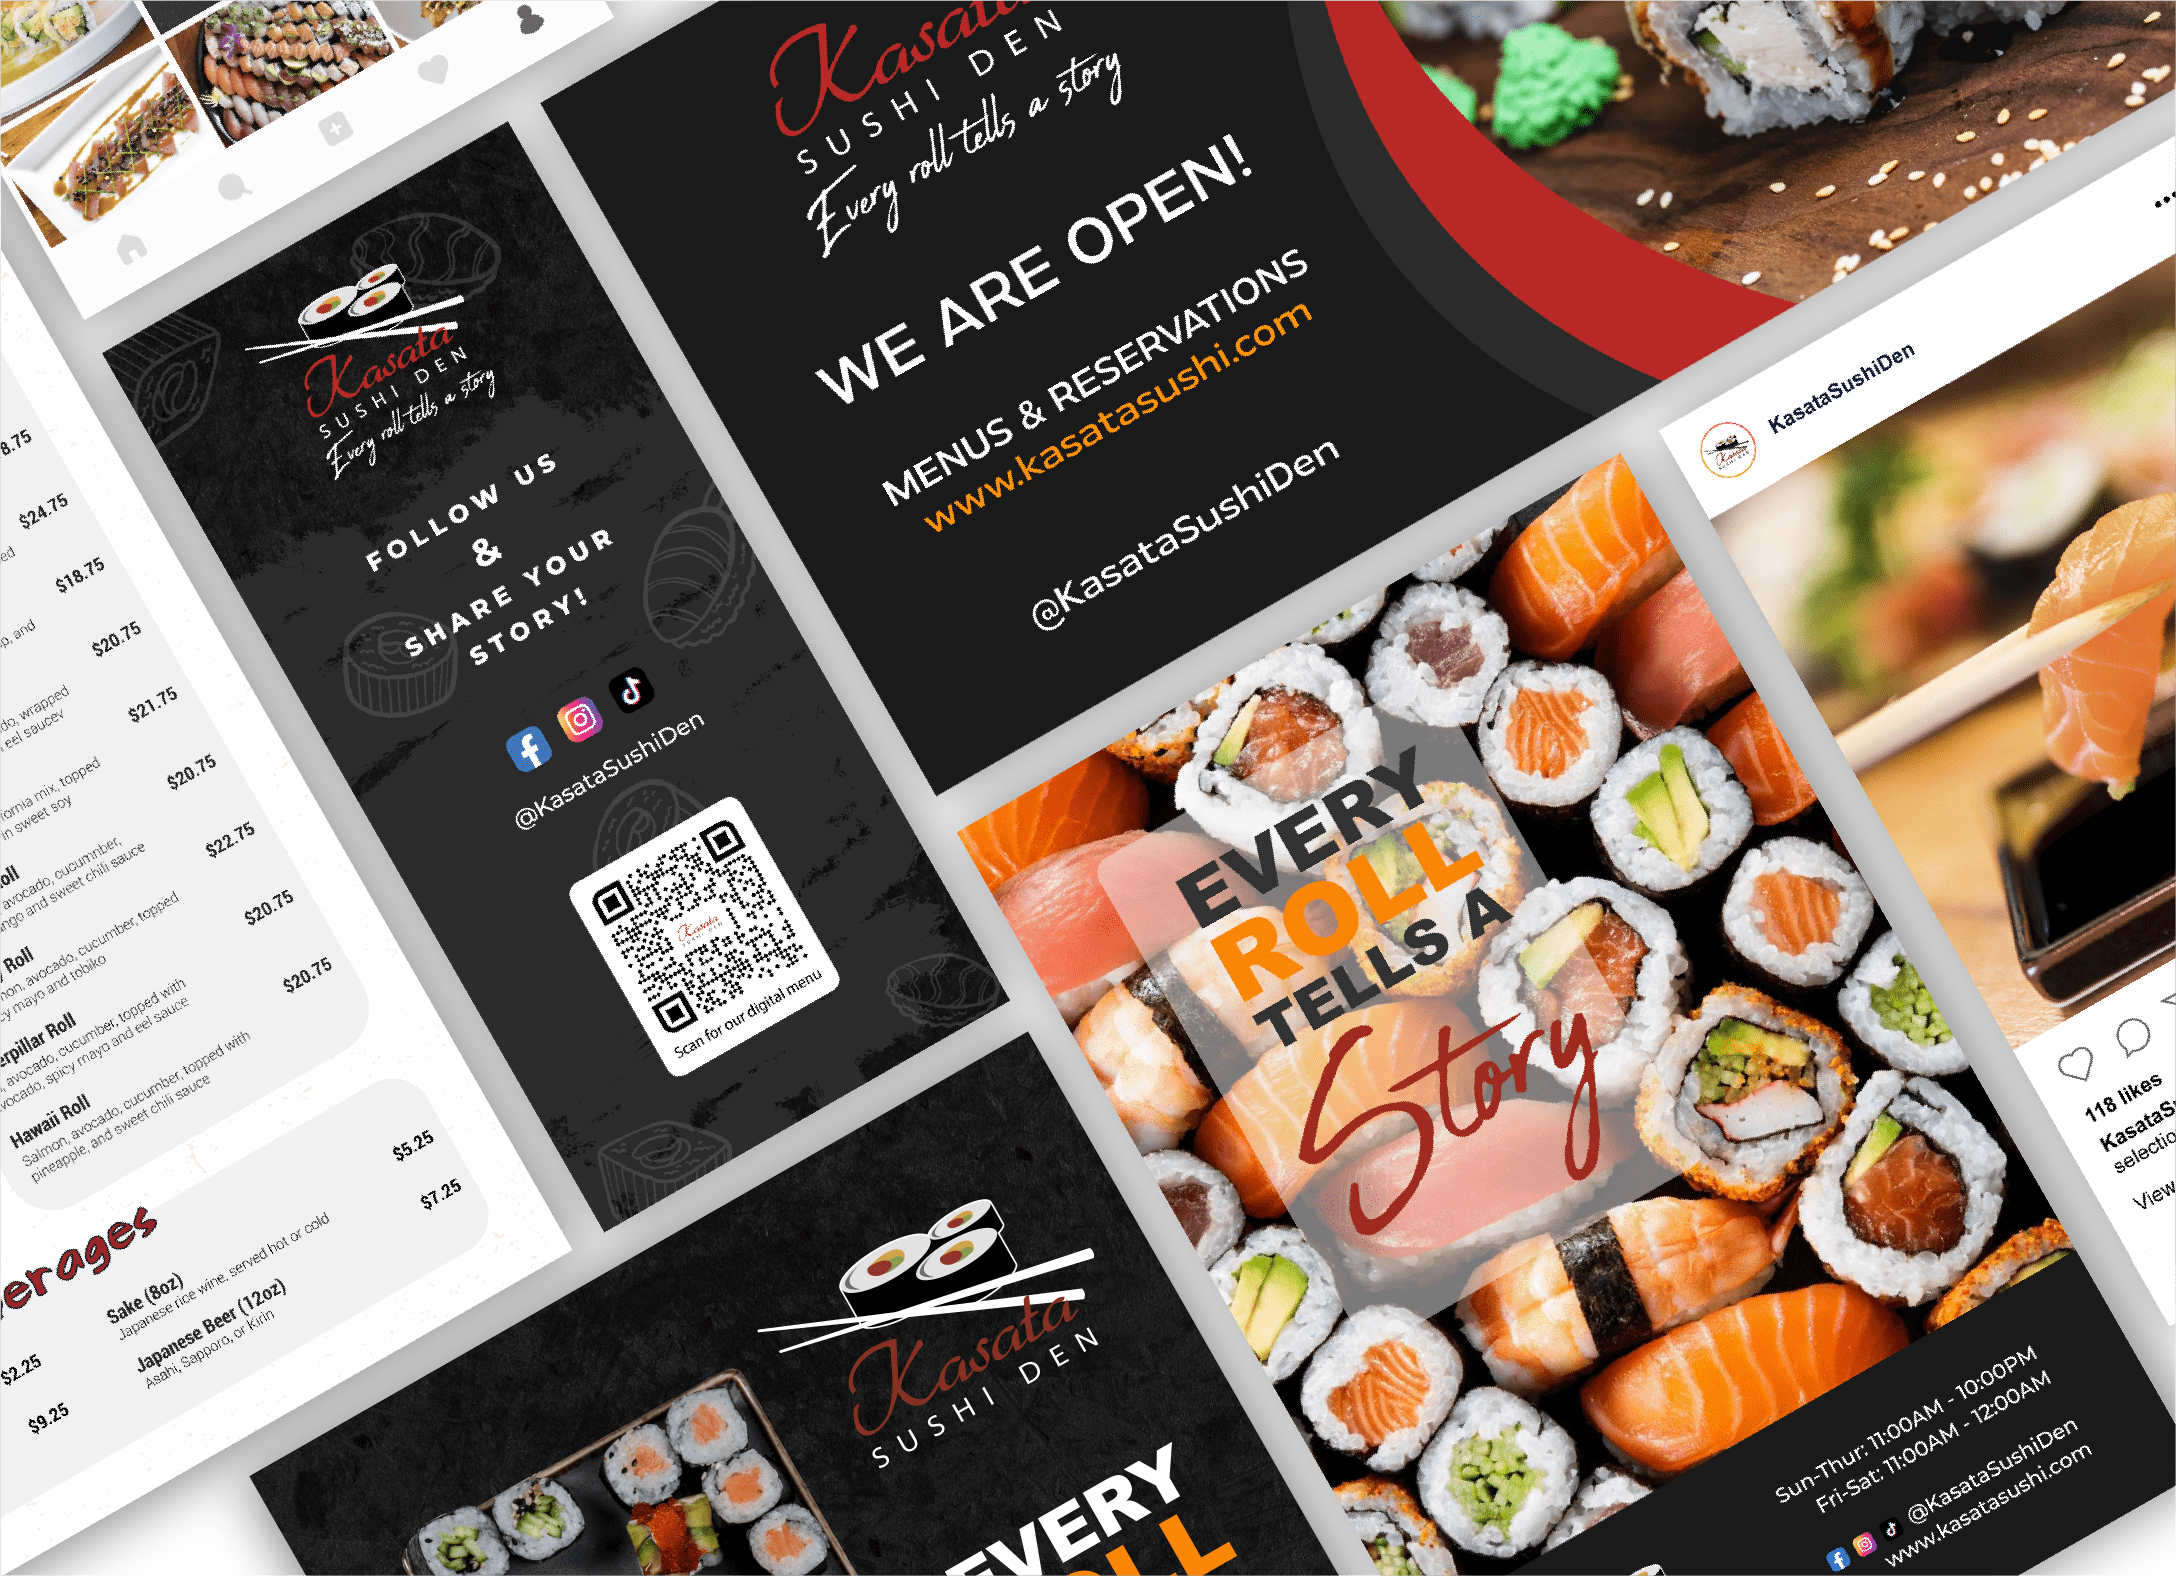
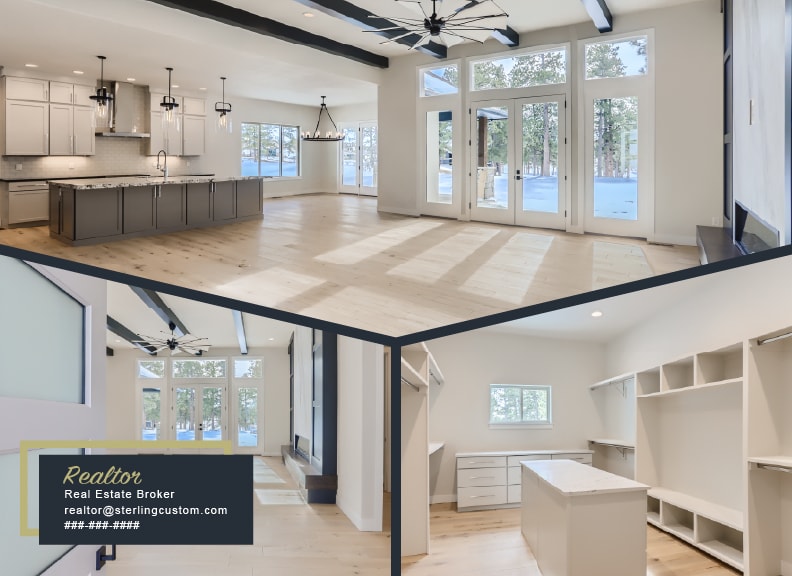
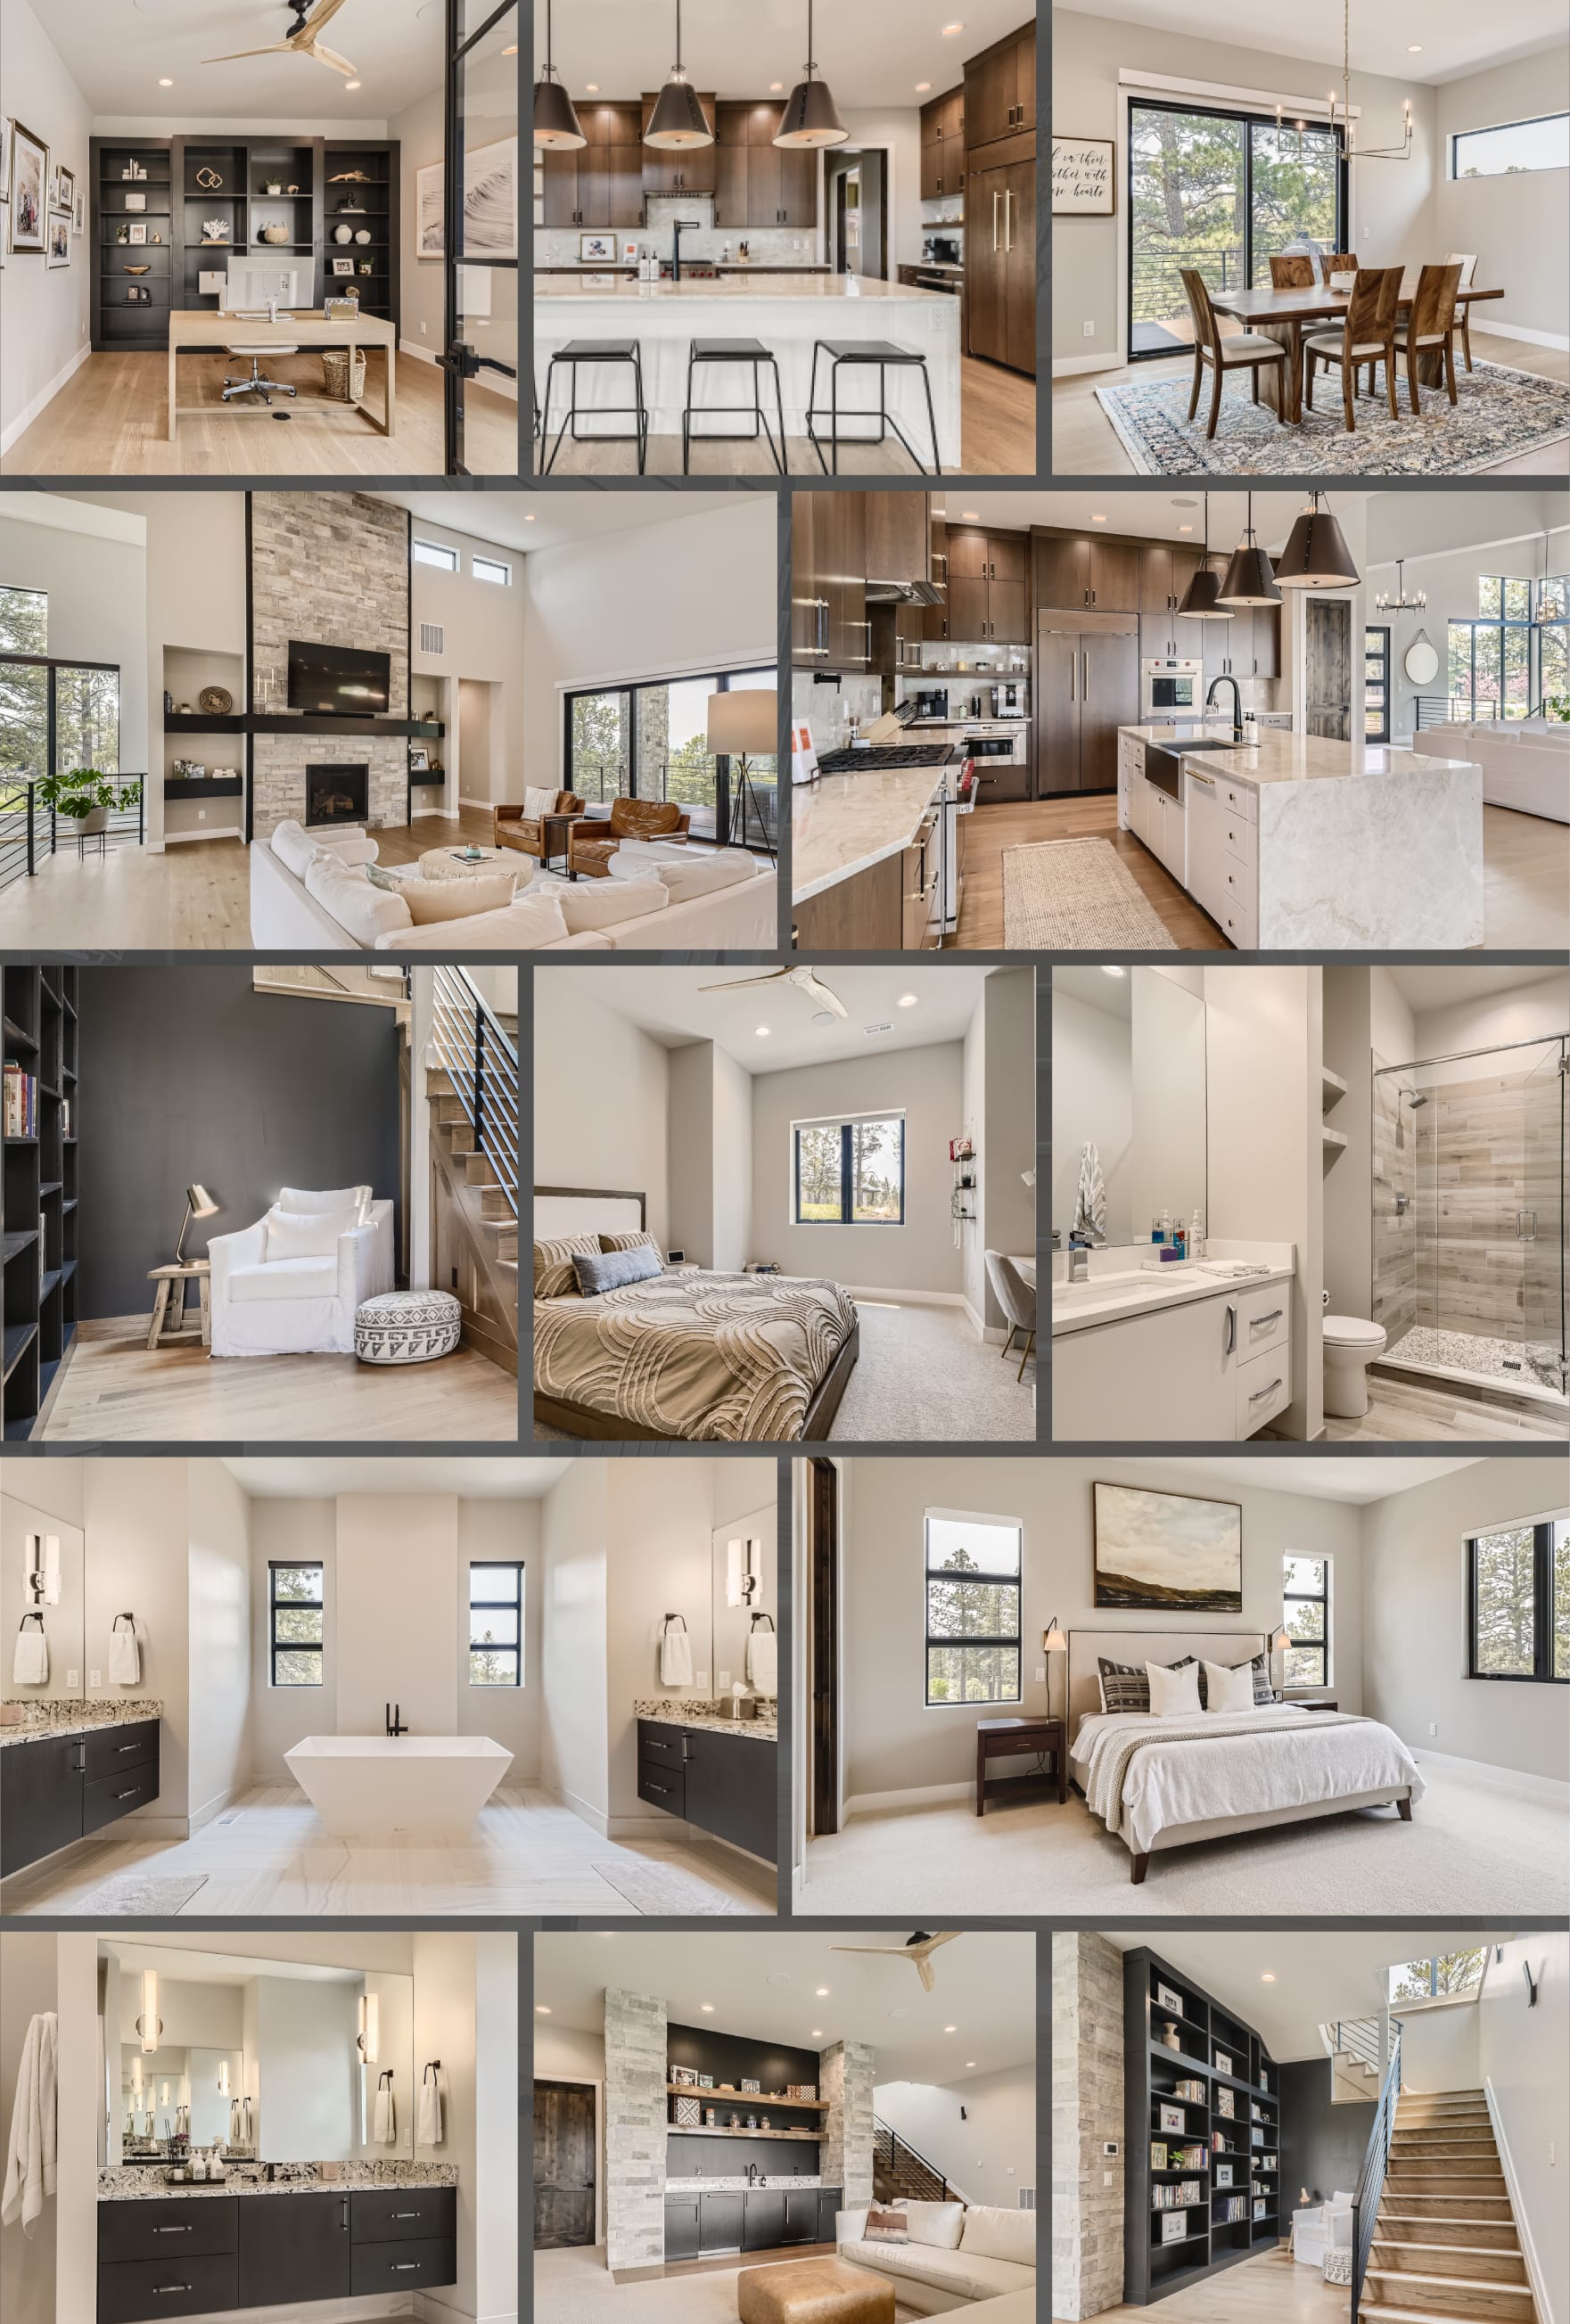
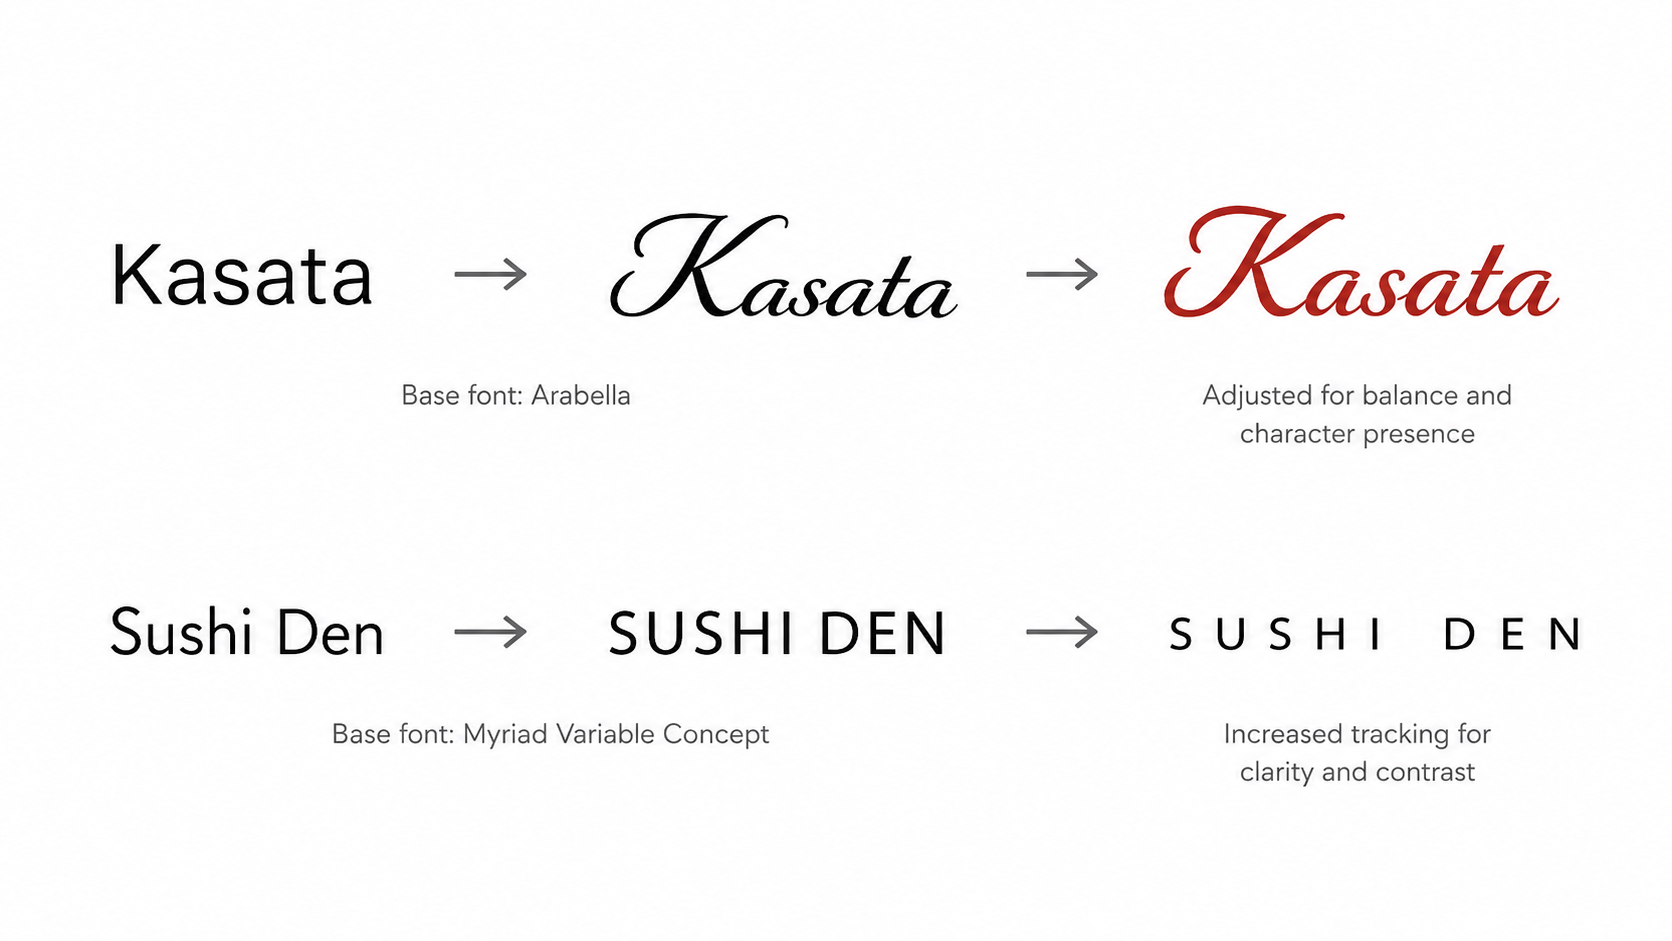
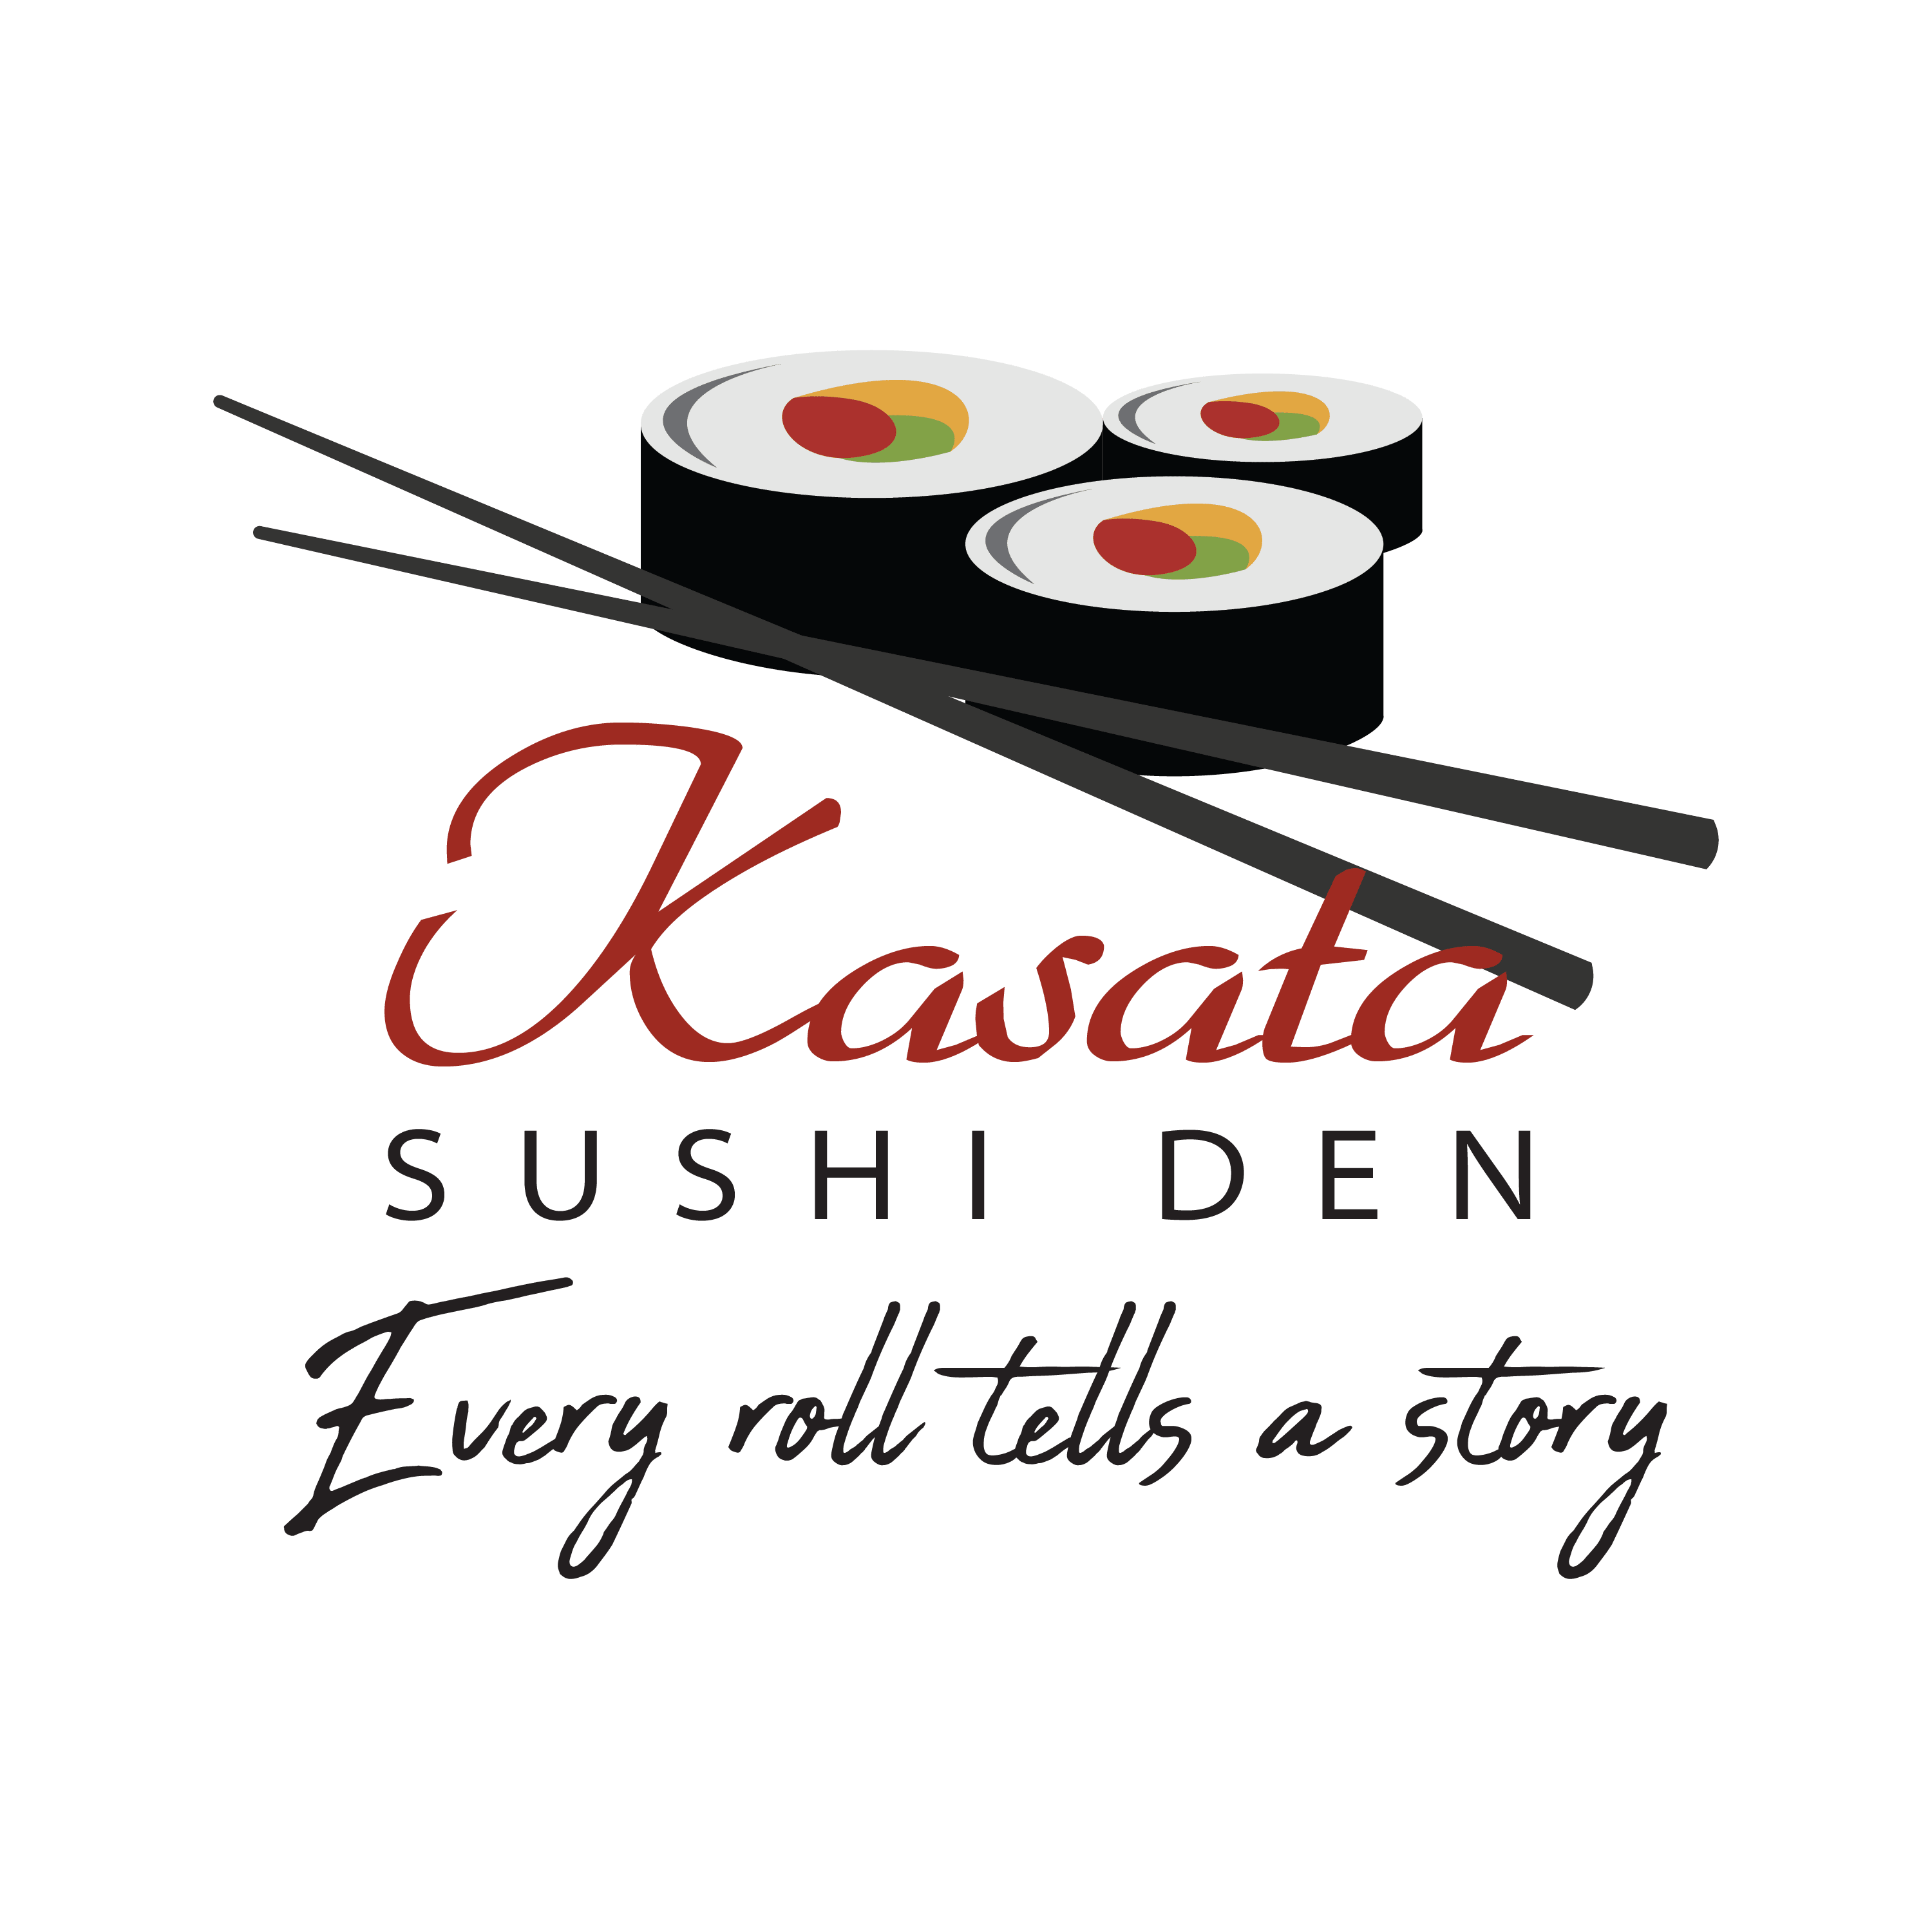
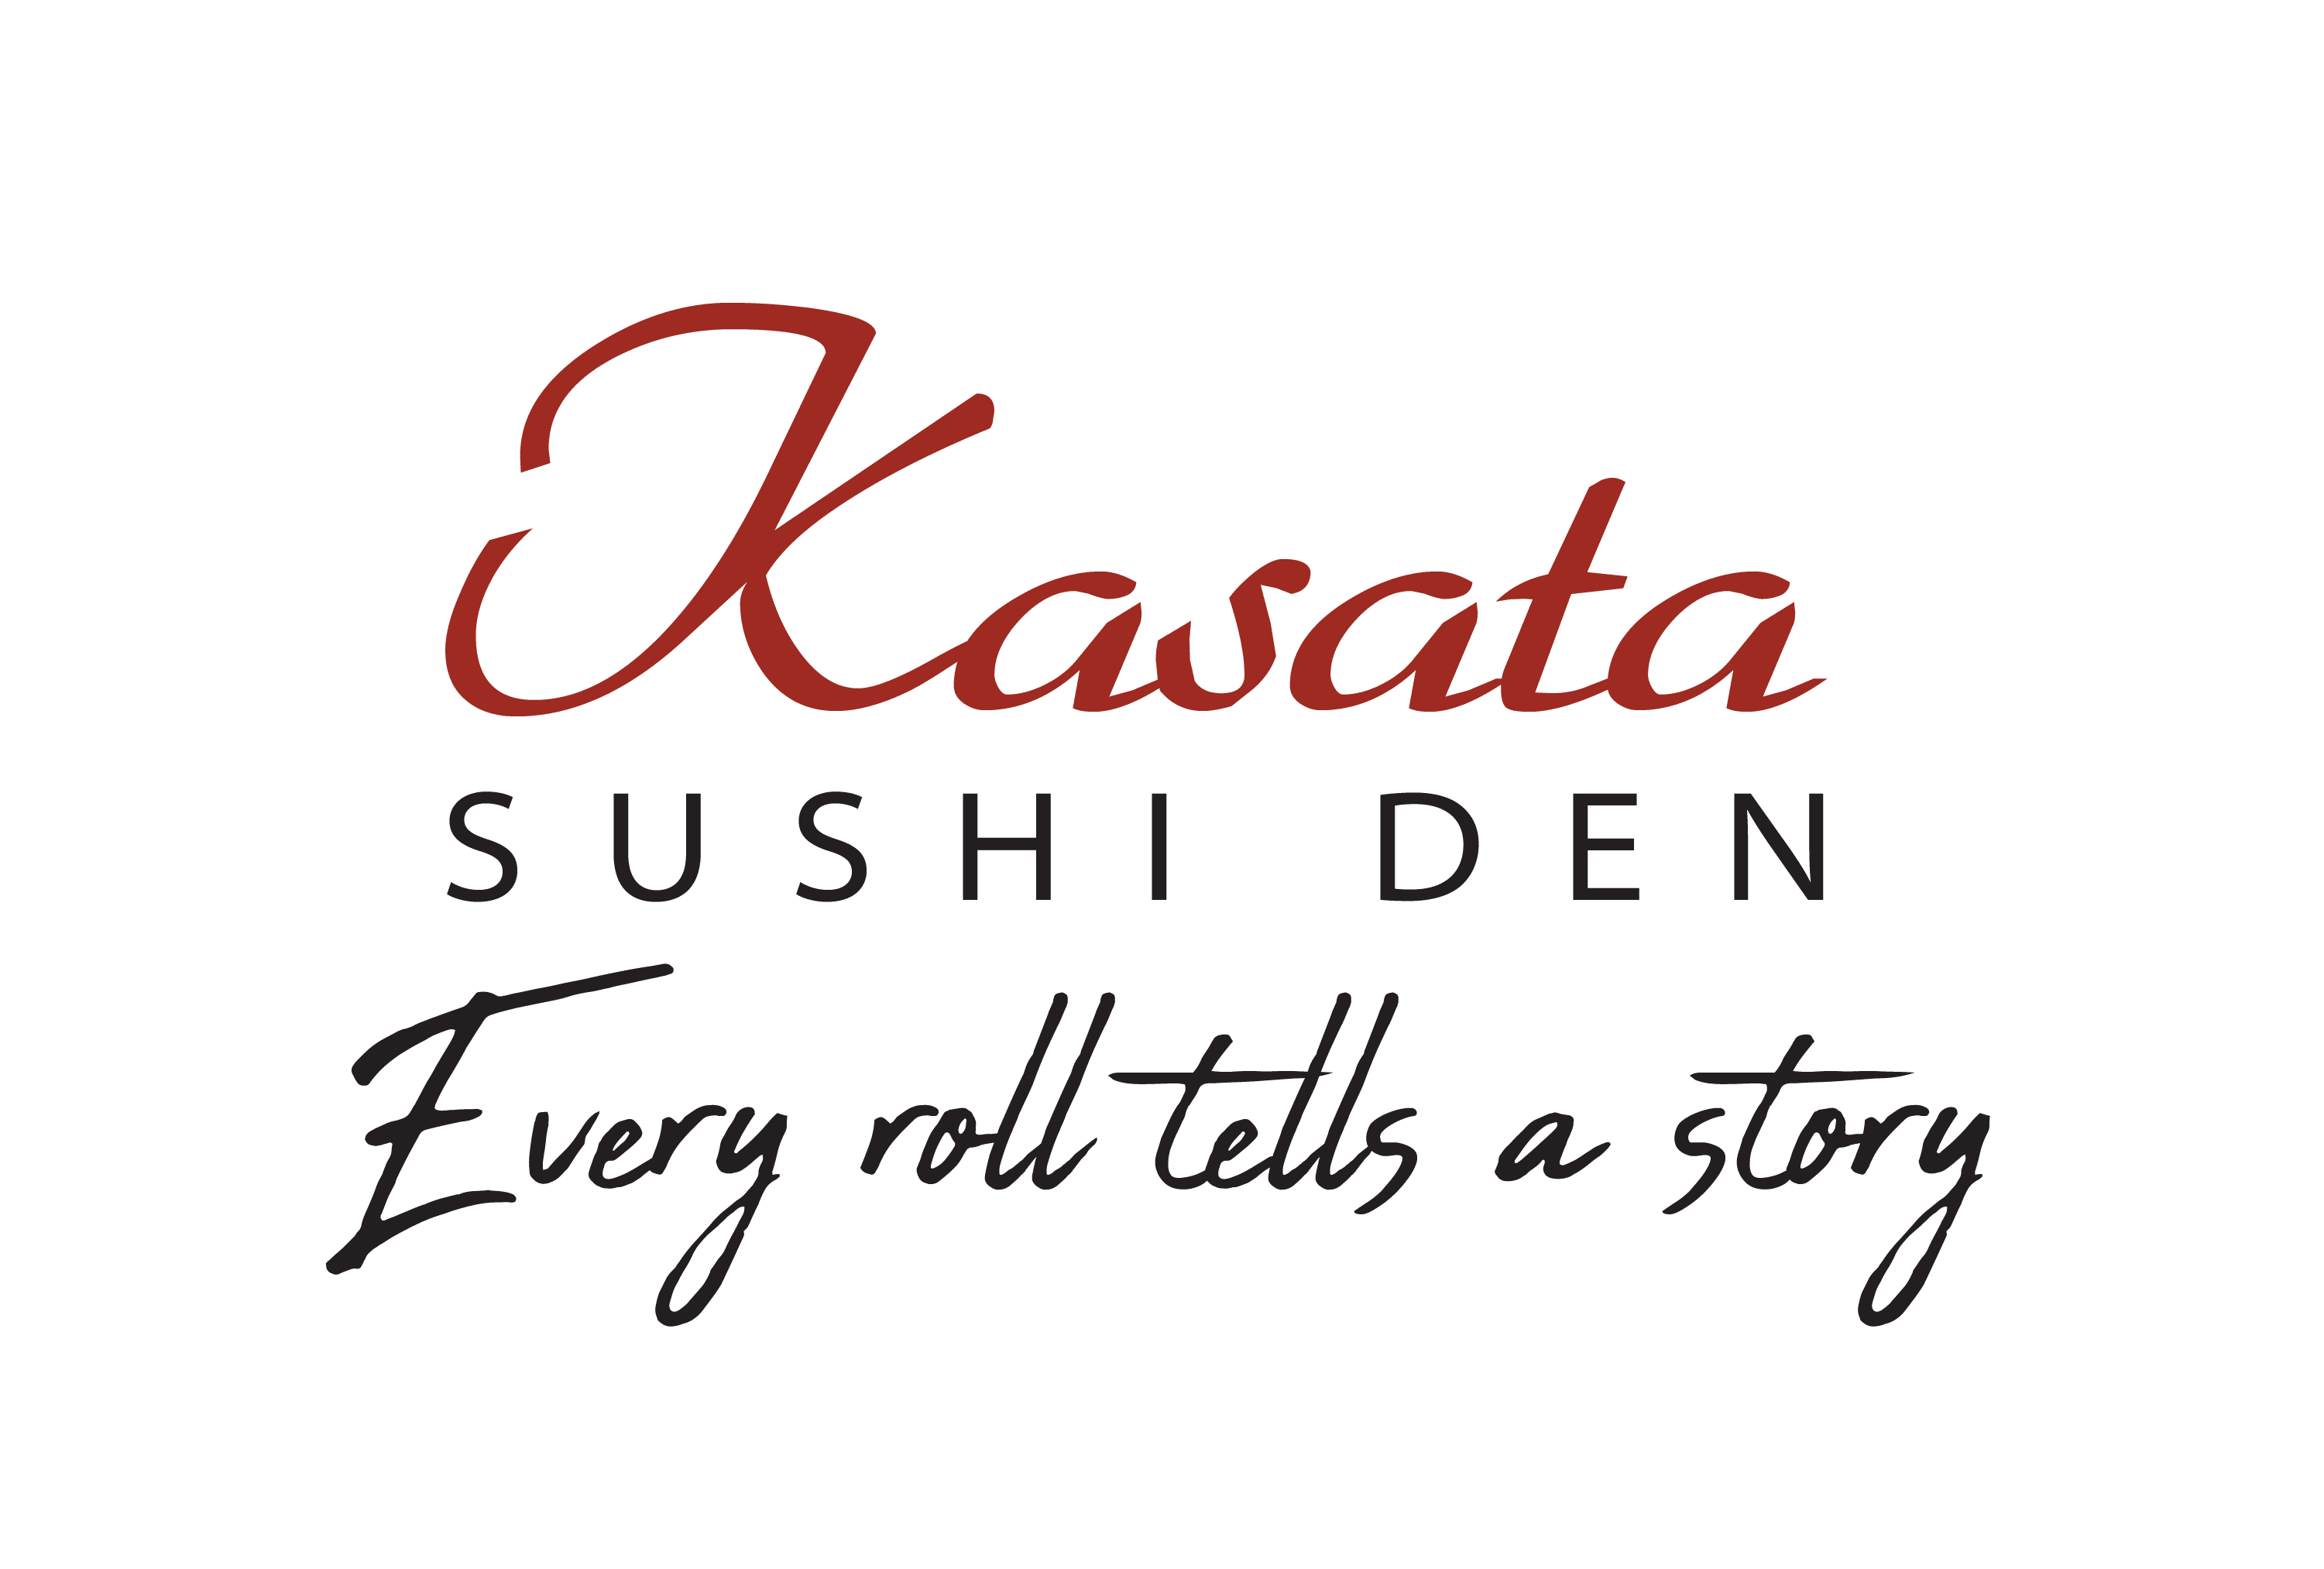
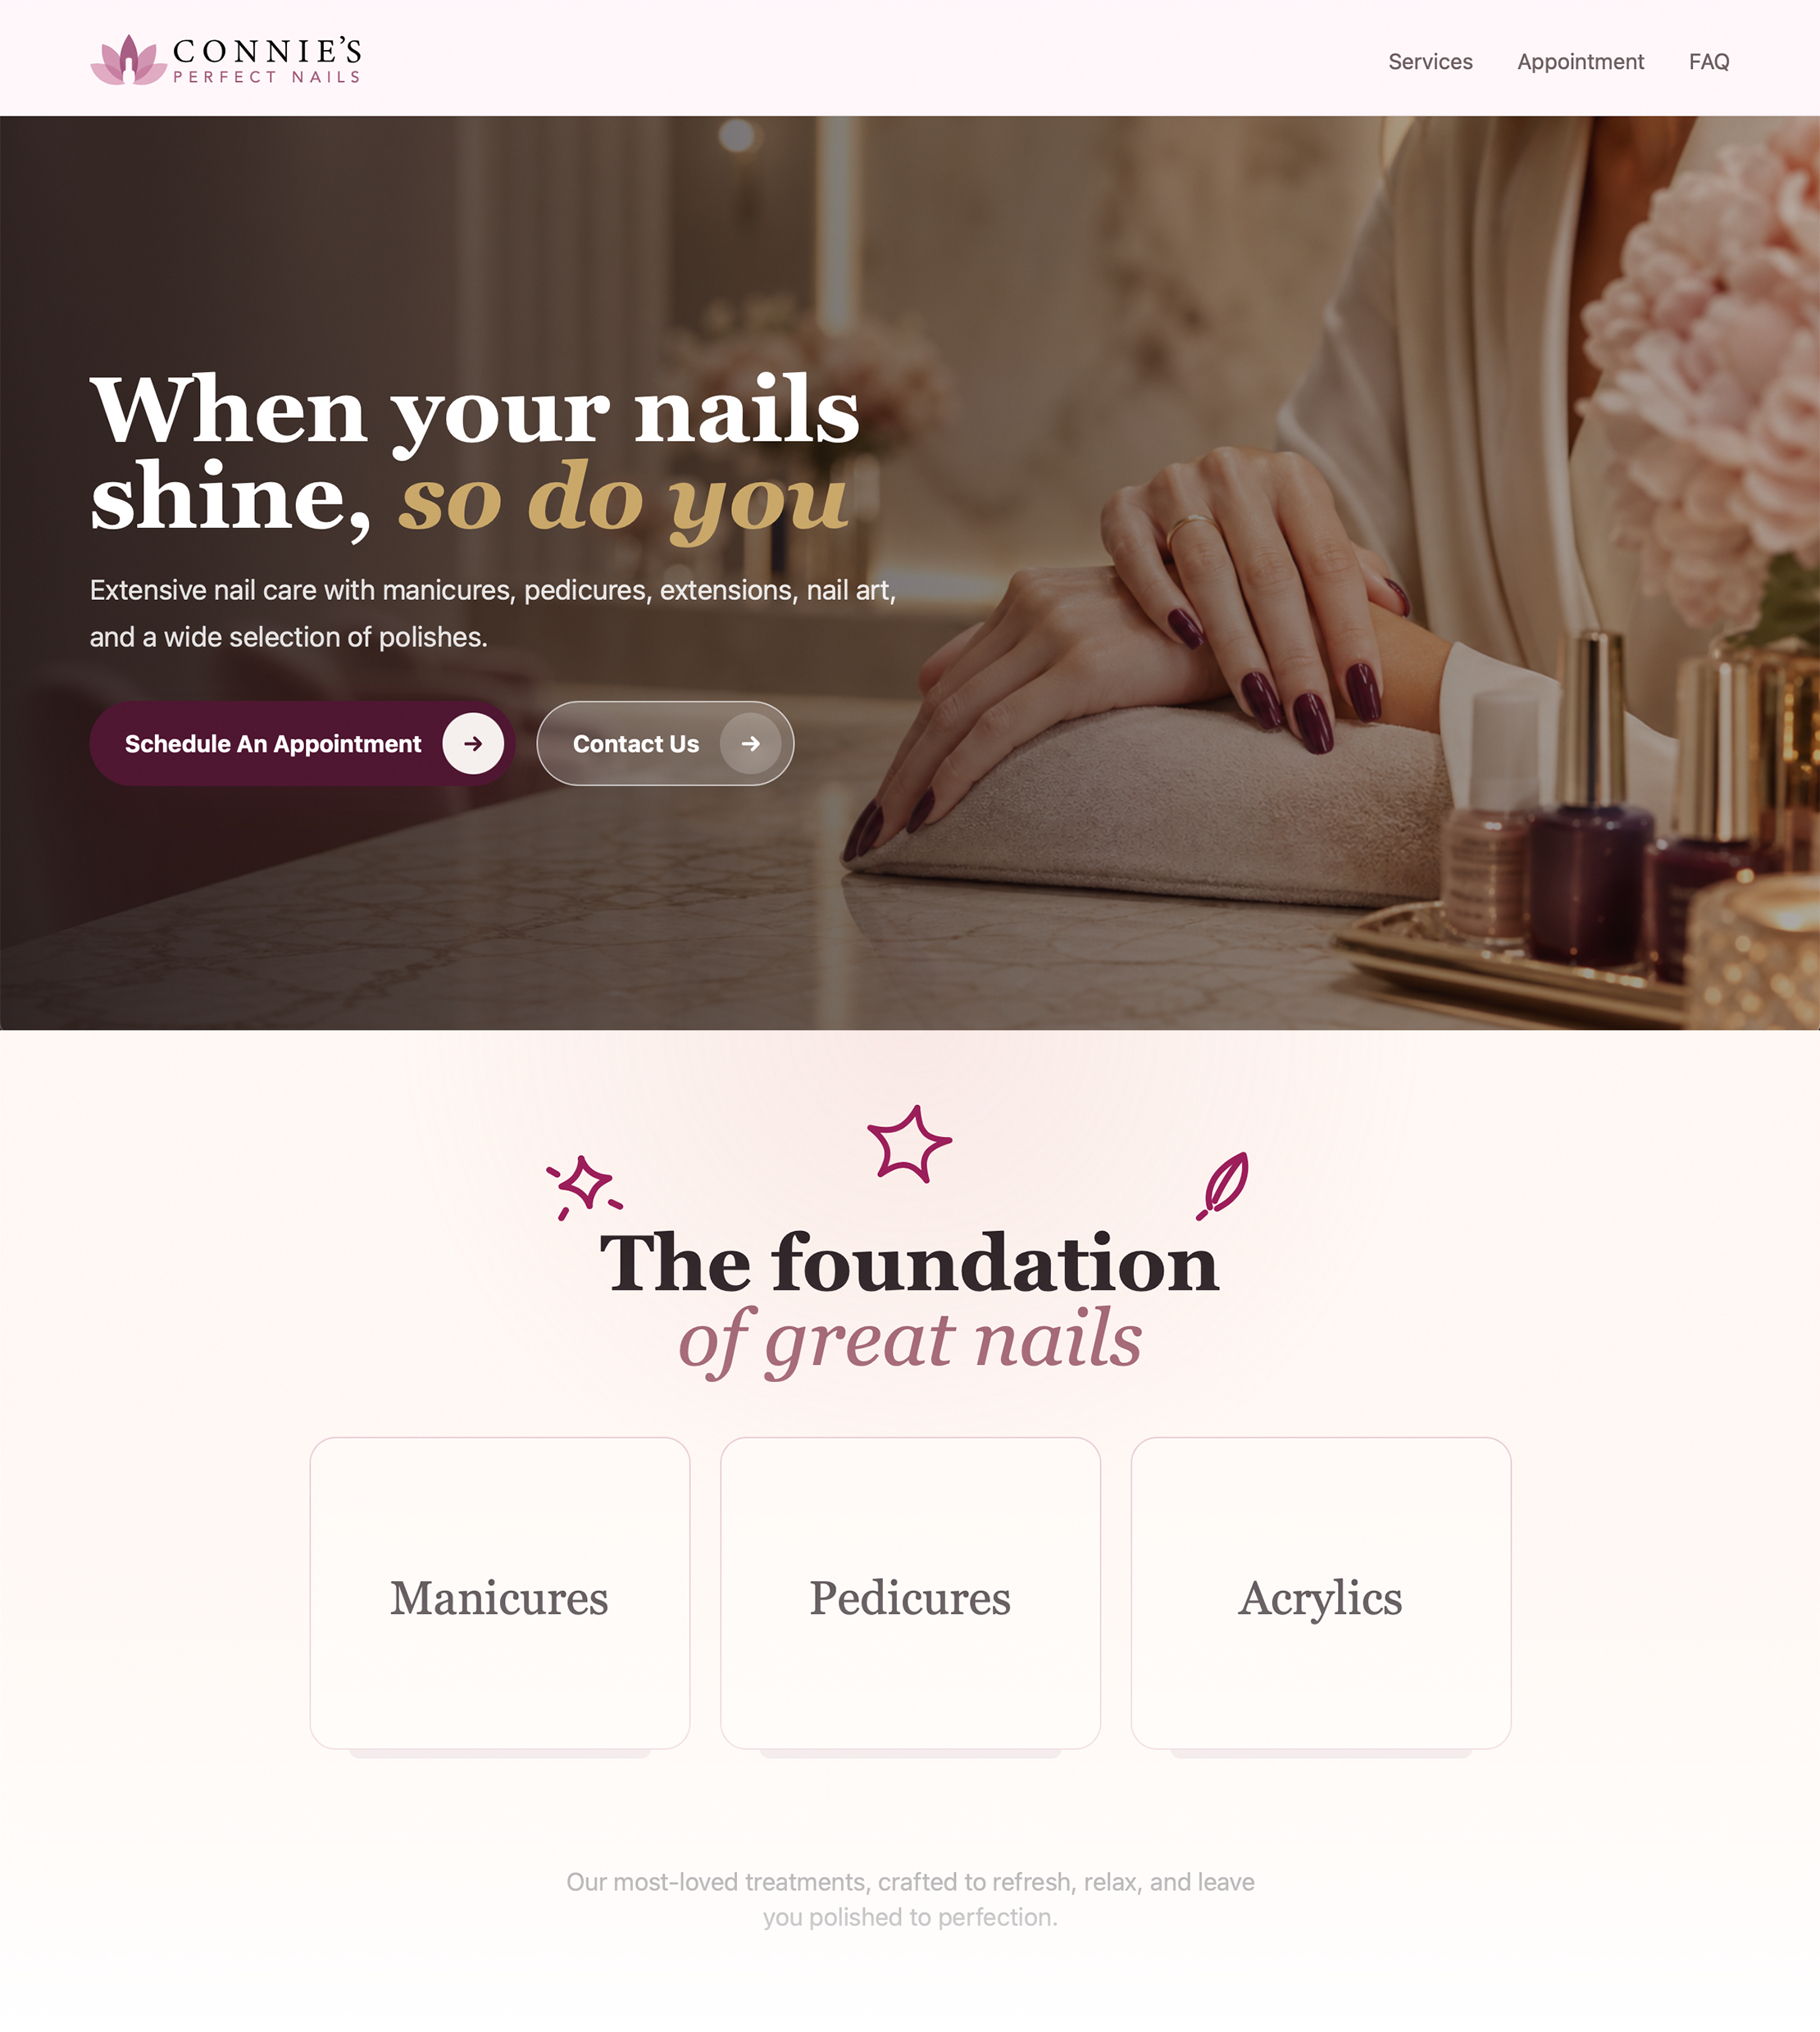
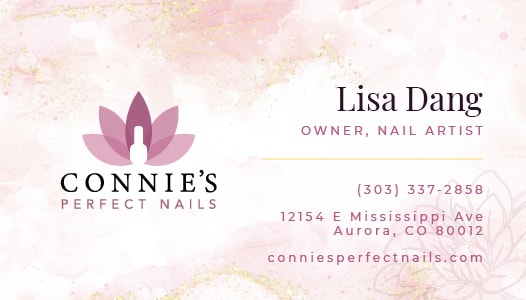
Brand Identity
Logos and aesthetics built to make any business look premium.
How You Scale
Marketing Systems
Convert attention into scaleable revenue-generating systems.
How It Feels
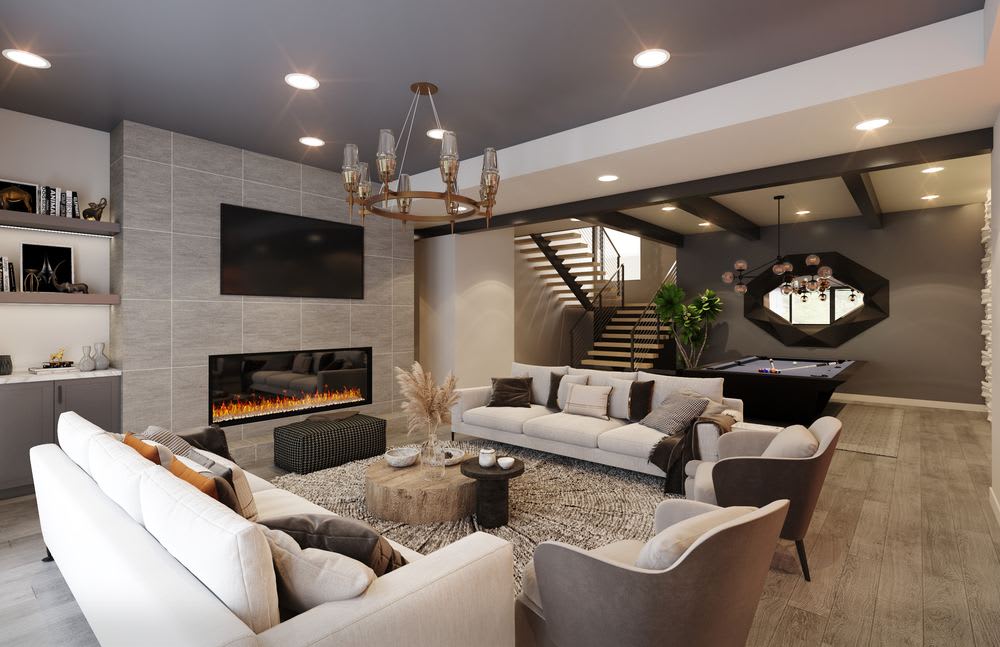
UI Design
Websites and apps that turn visitors into customers.
How You Work
Workflow Automation
Transform repeatable tasks into agents that increase business productivity.
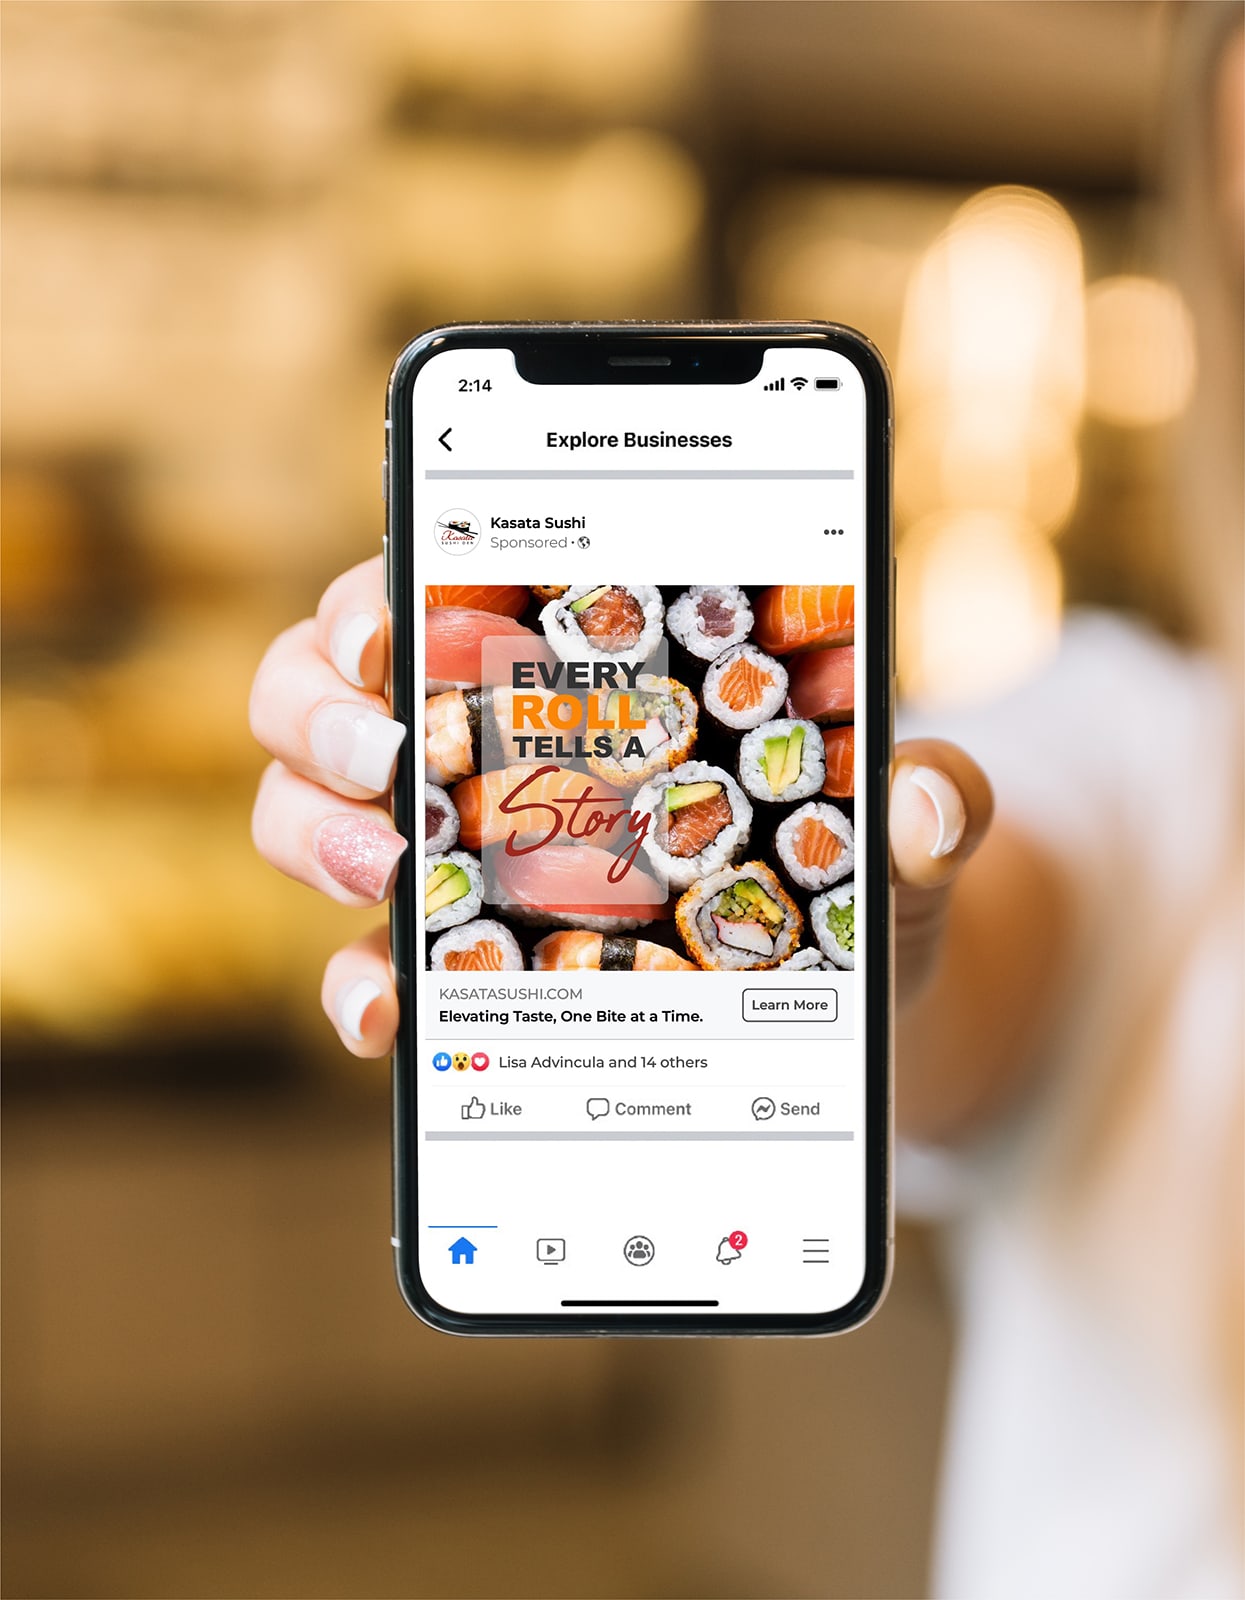
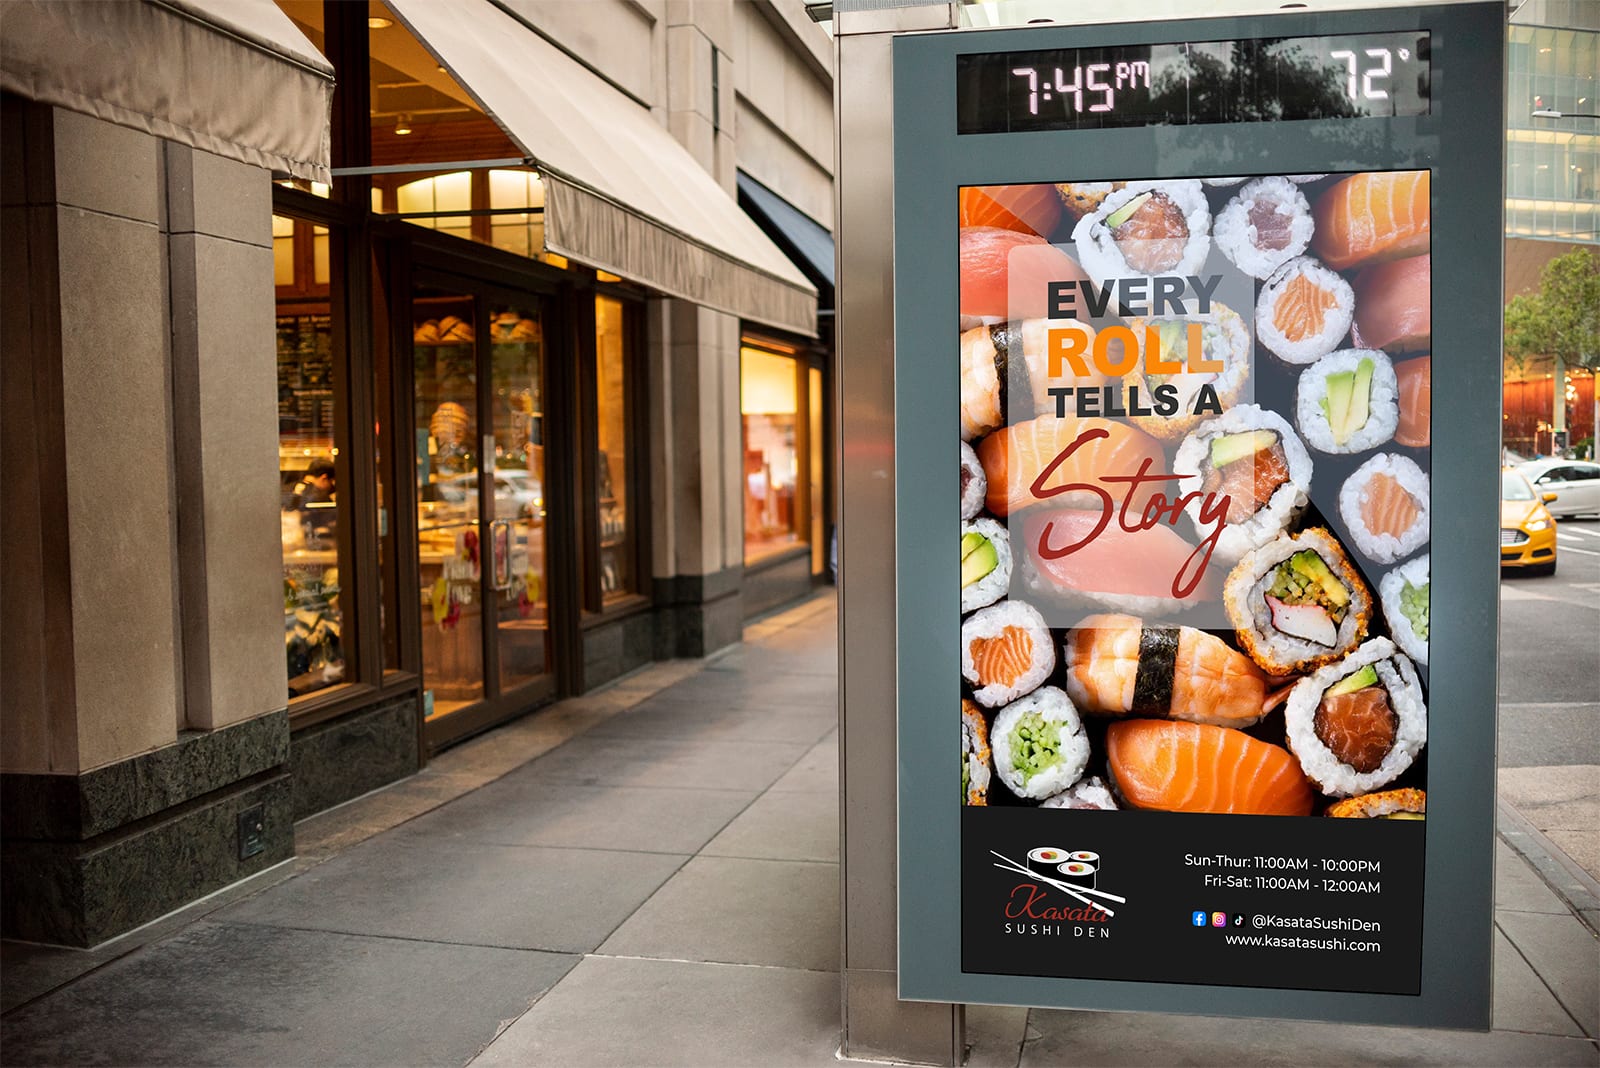
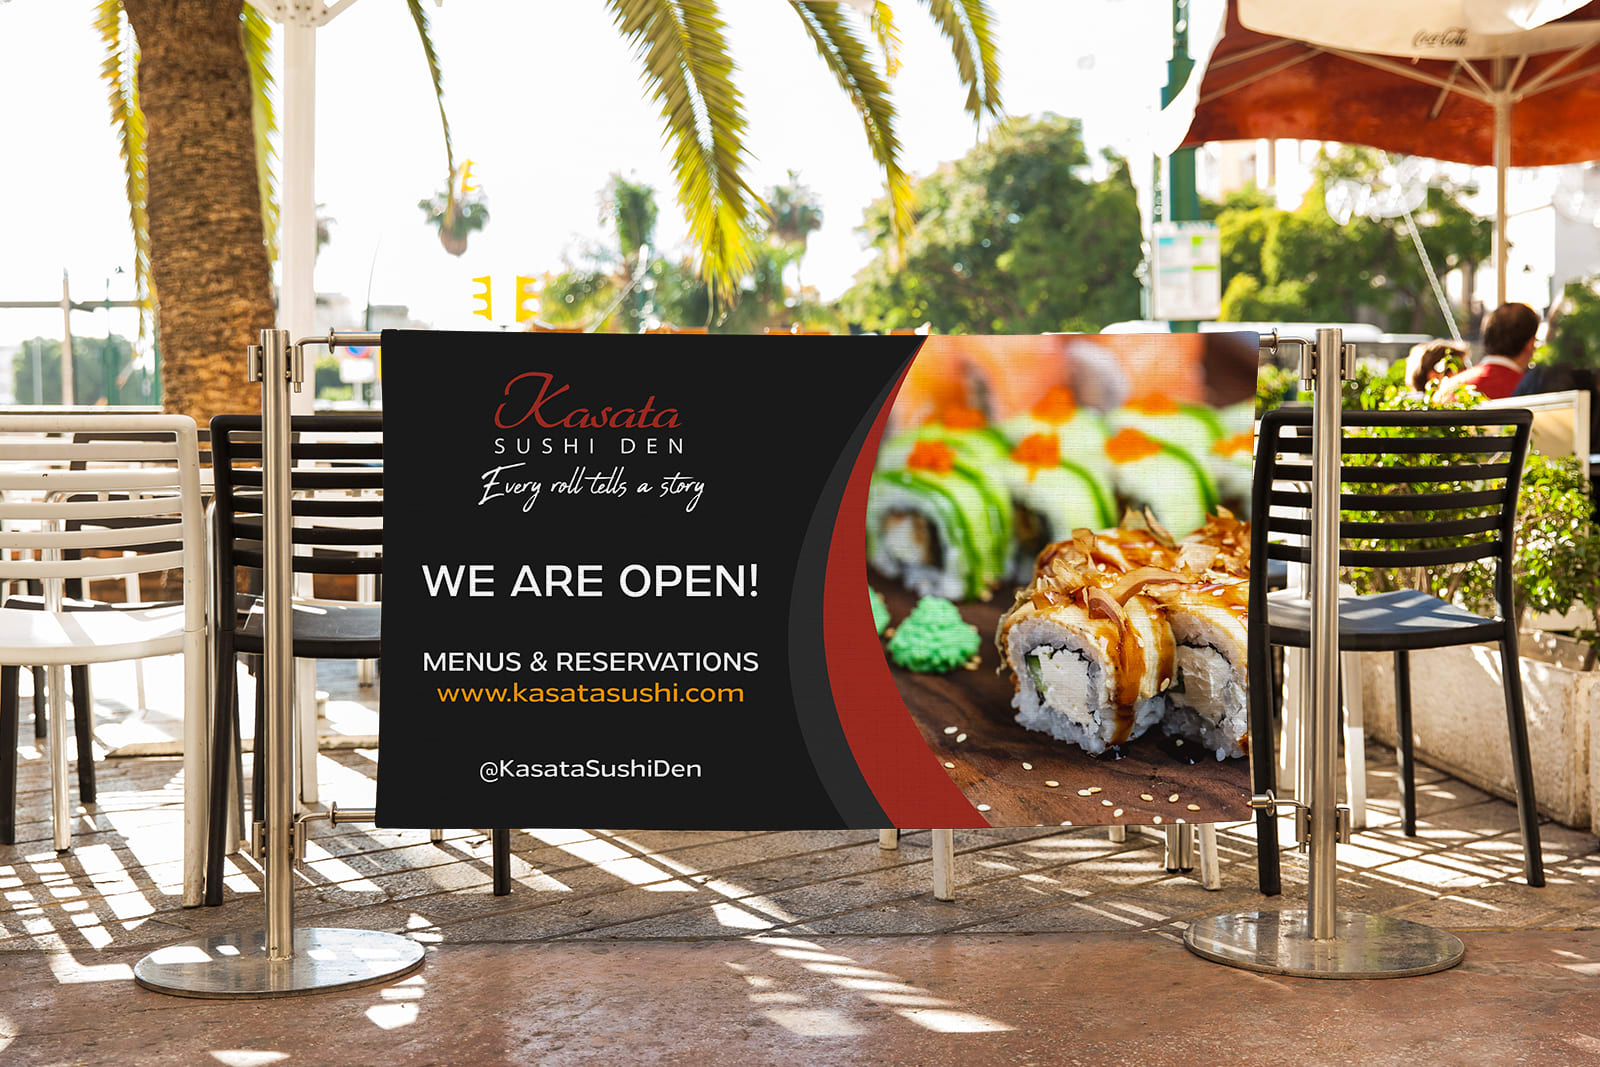
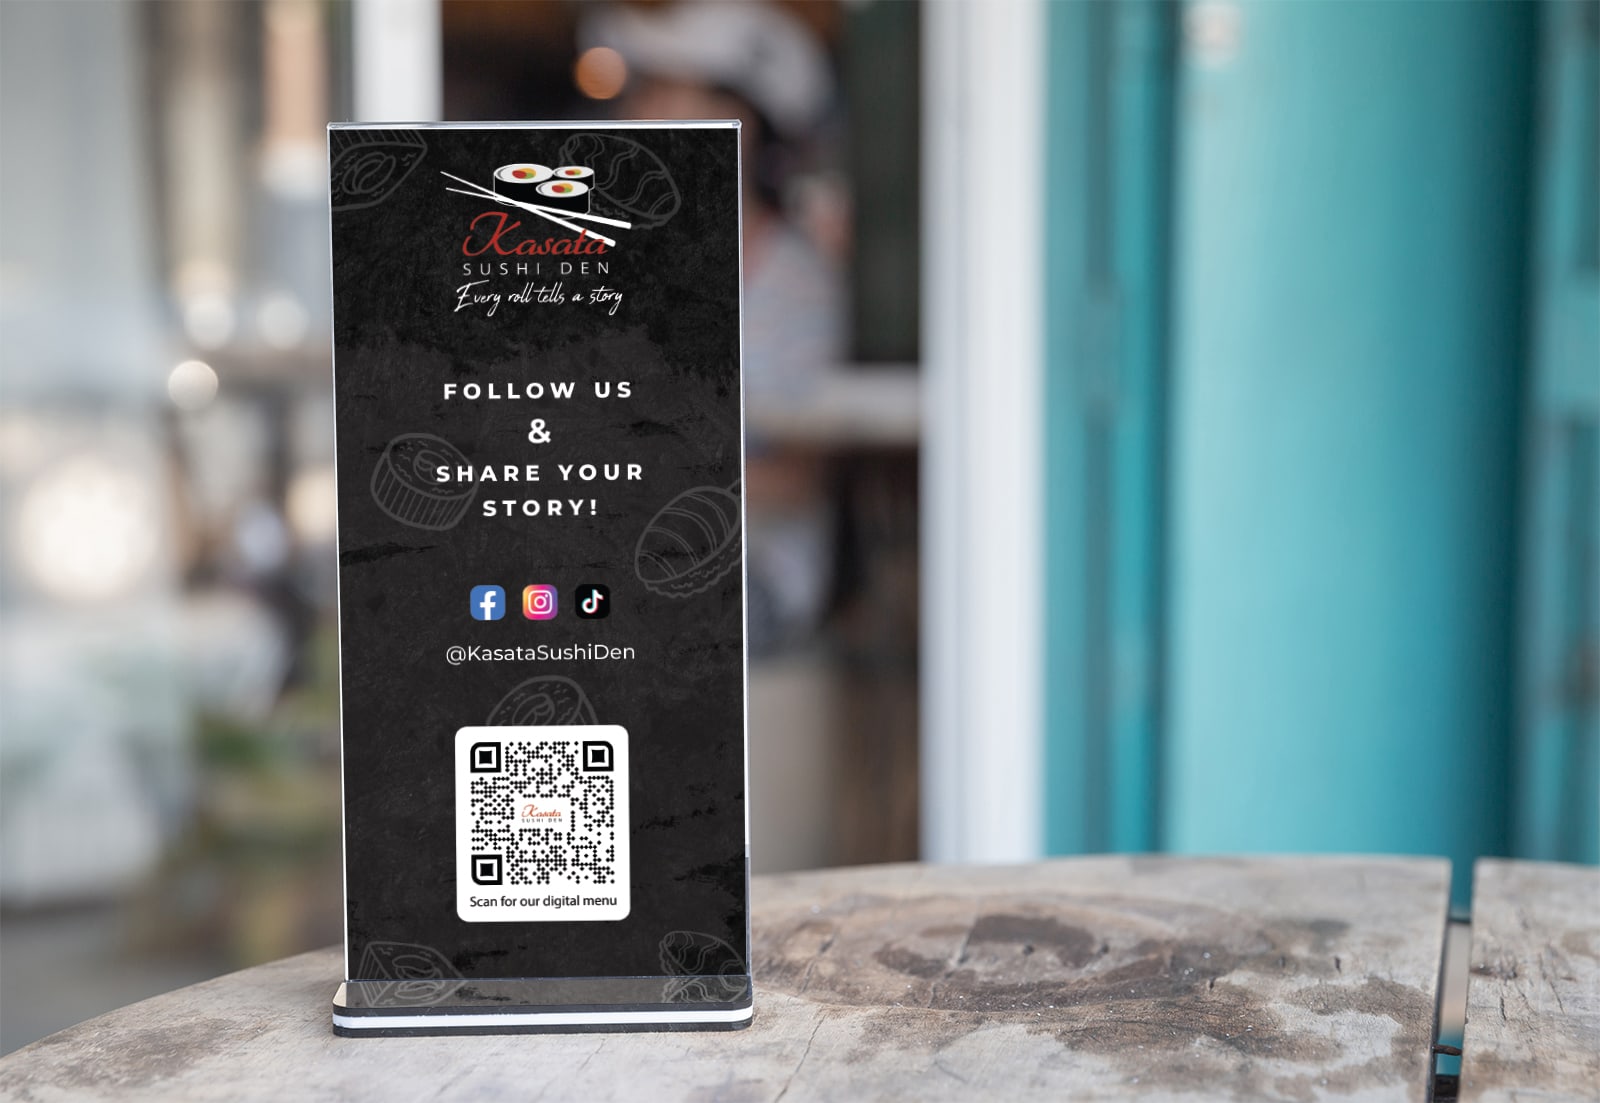
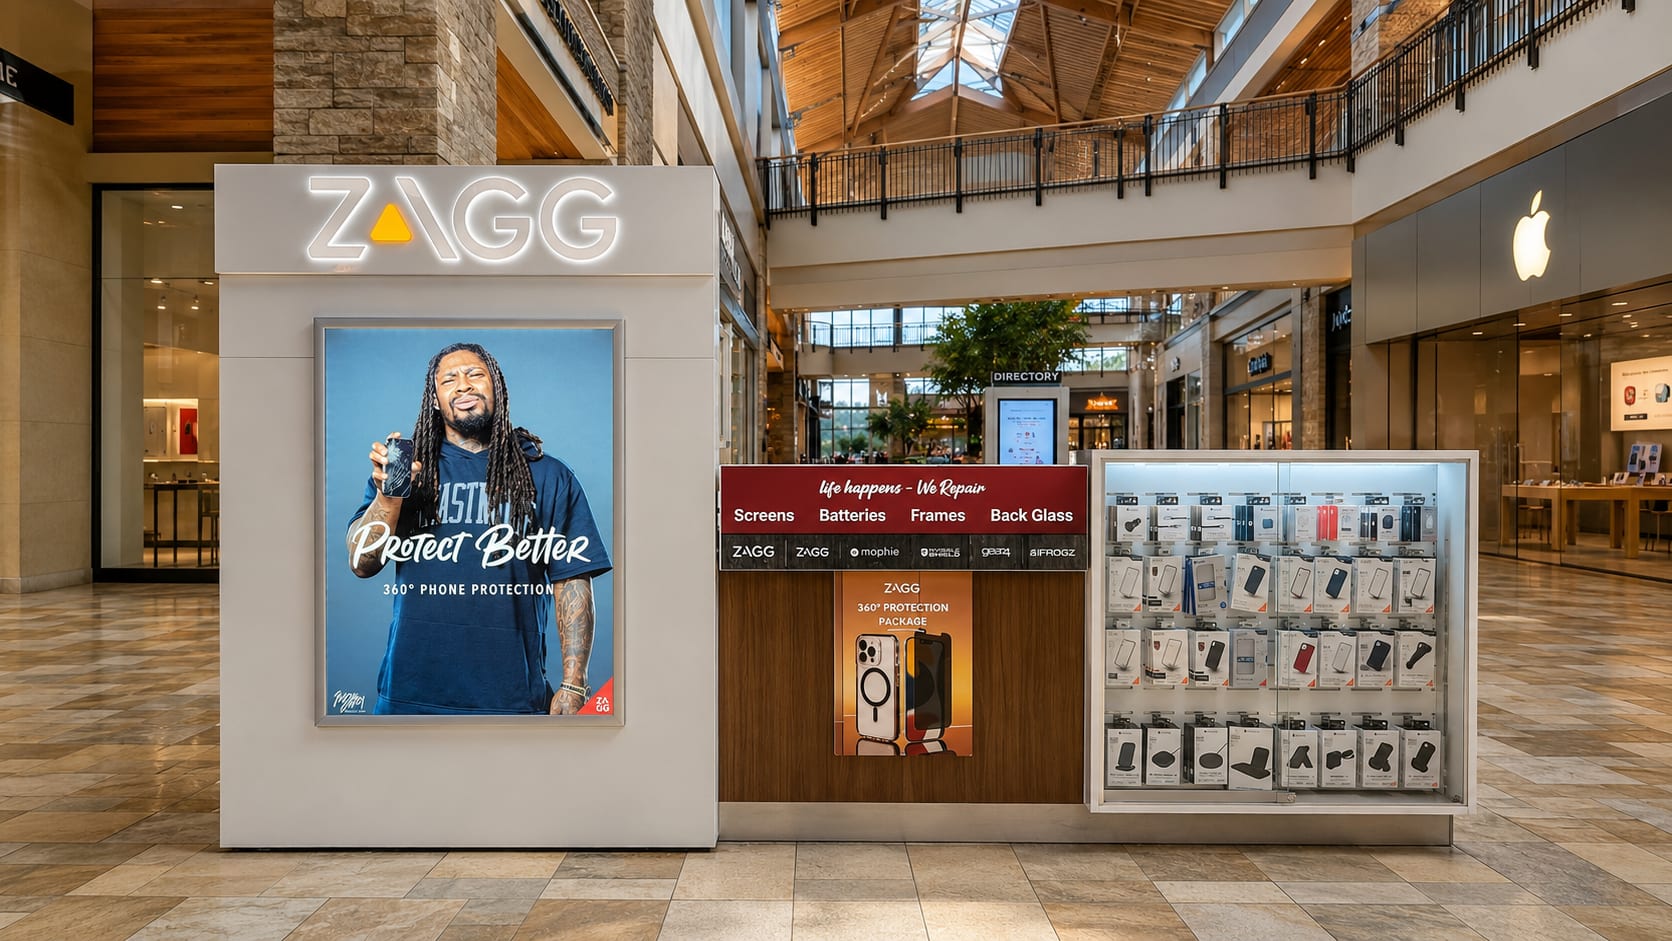
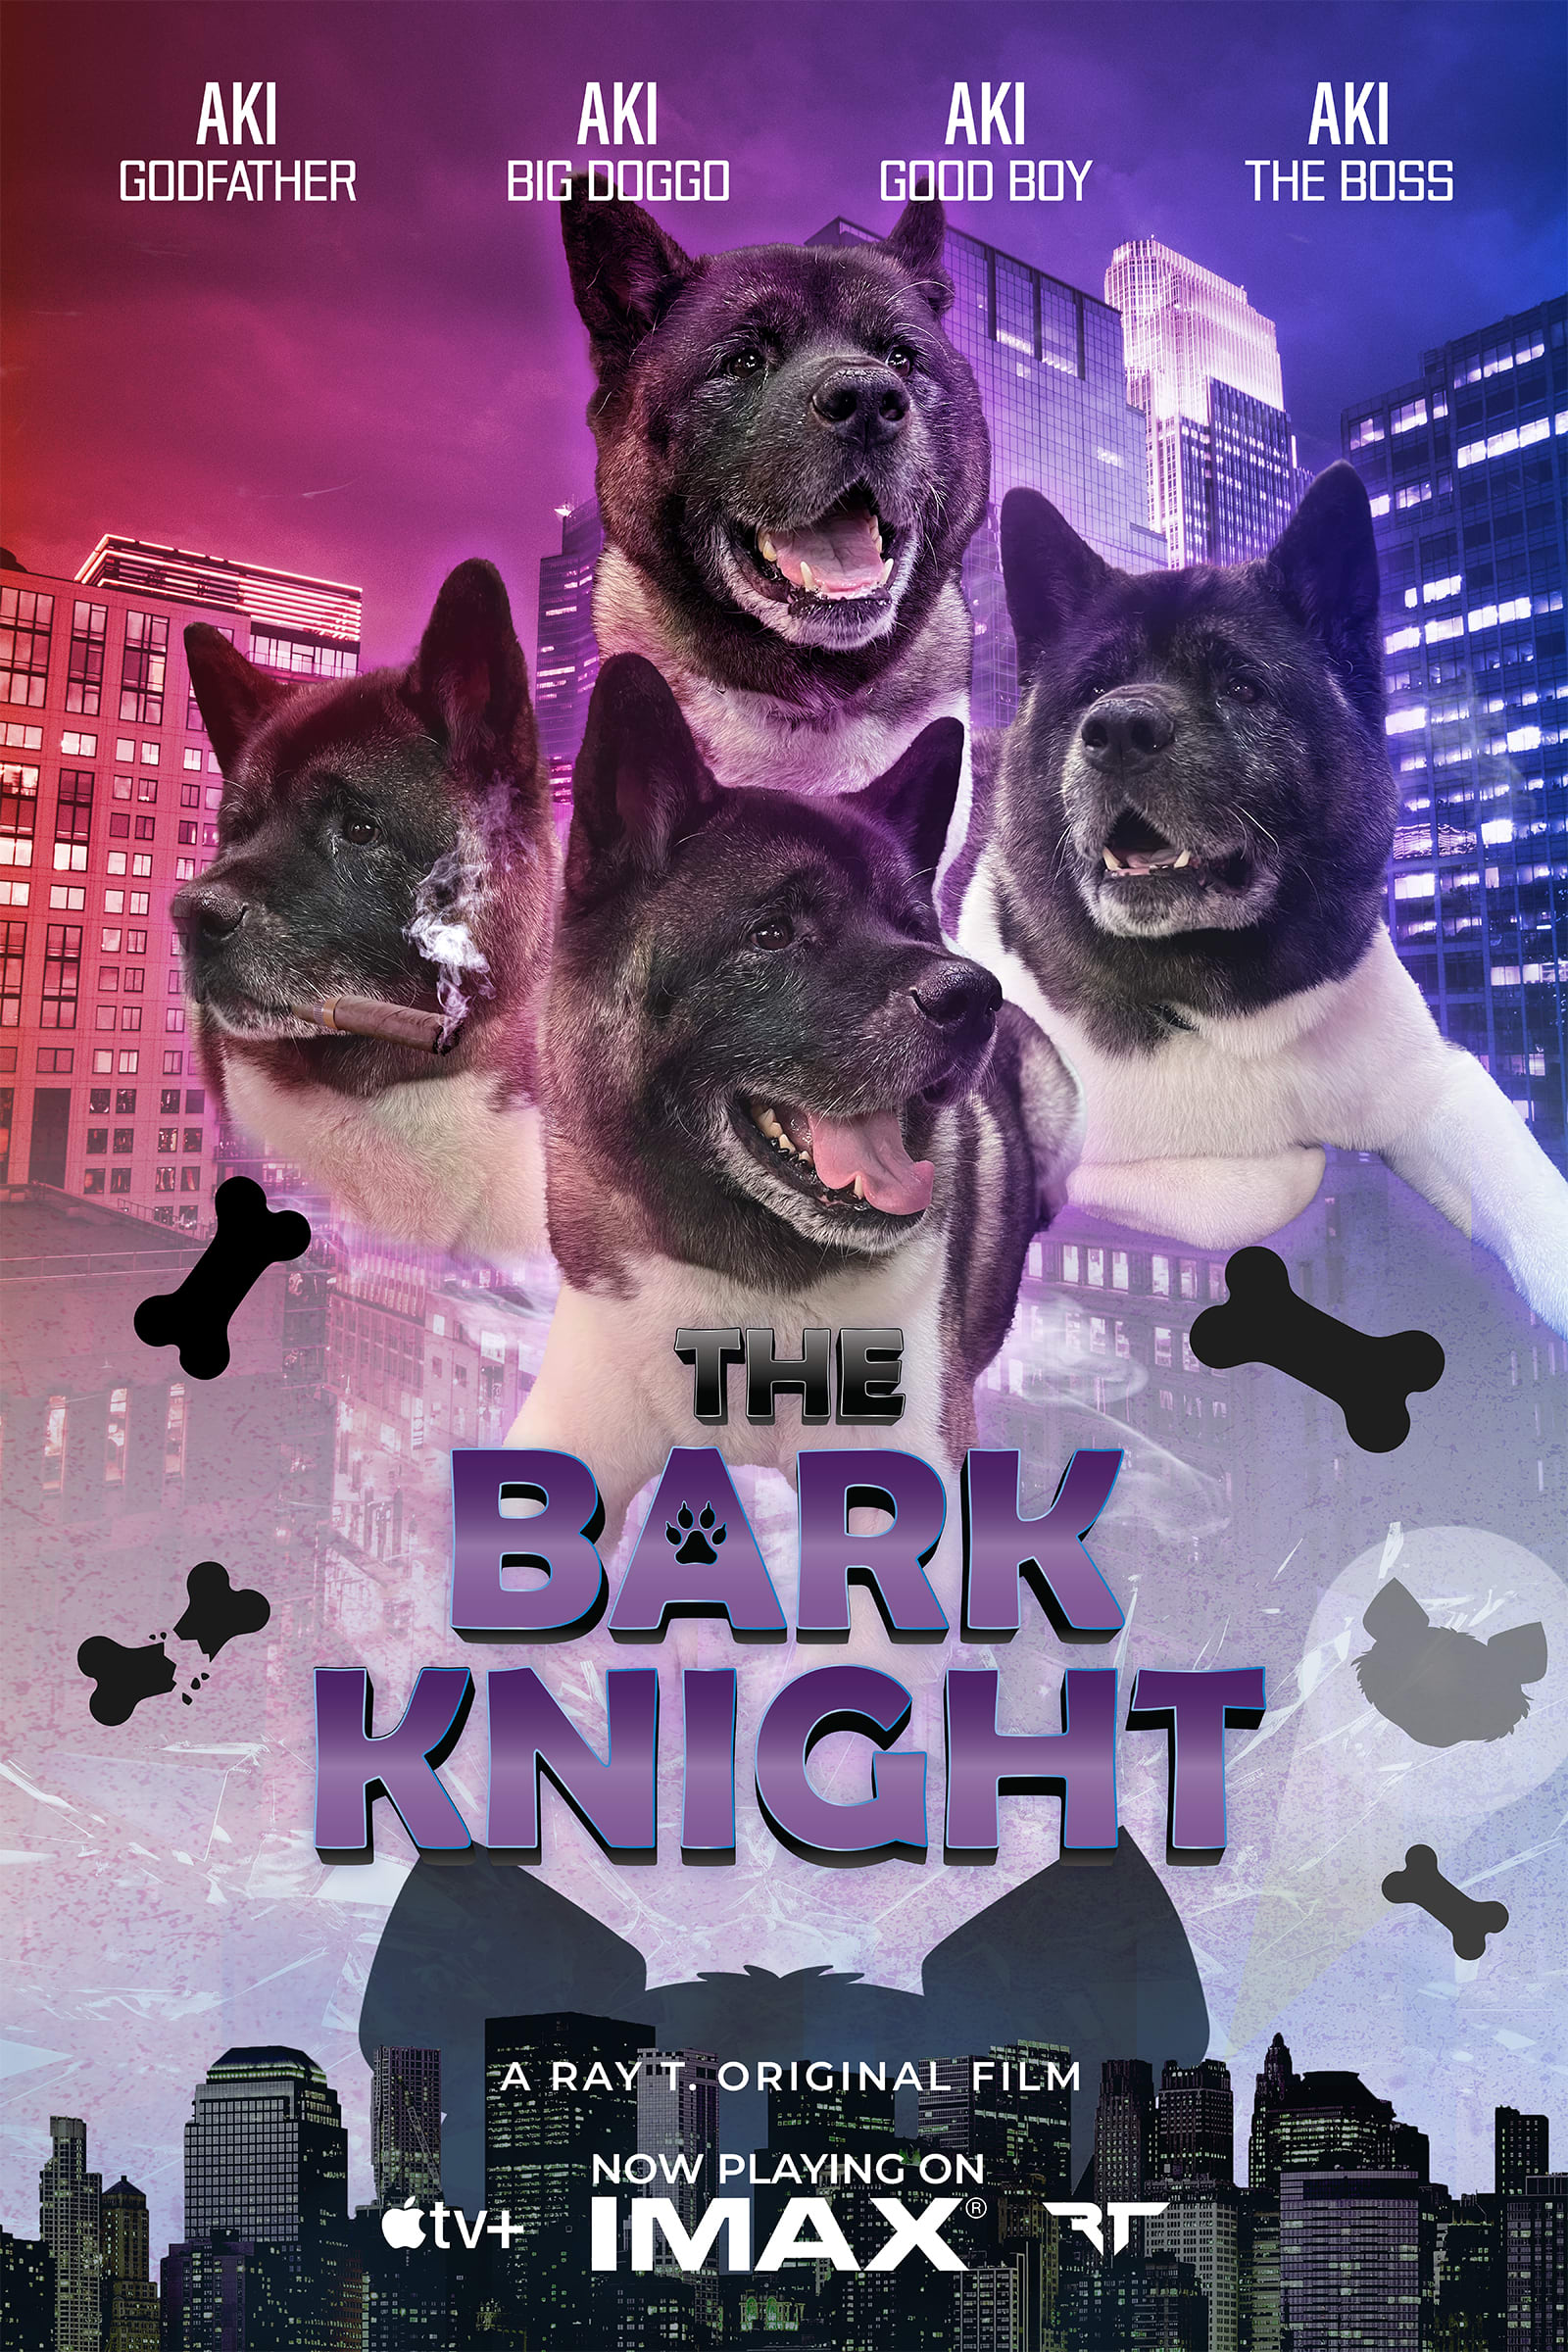
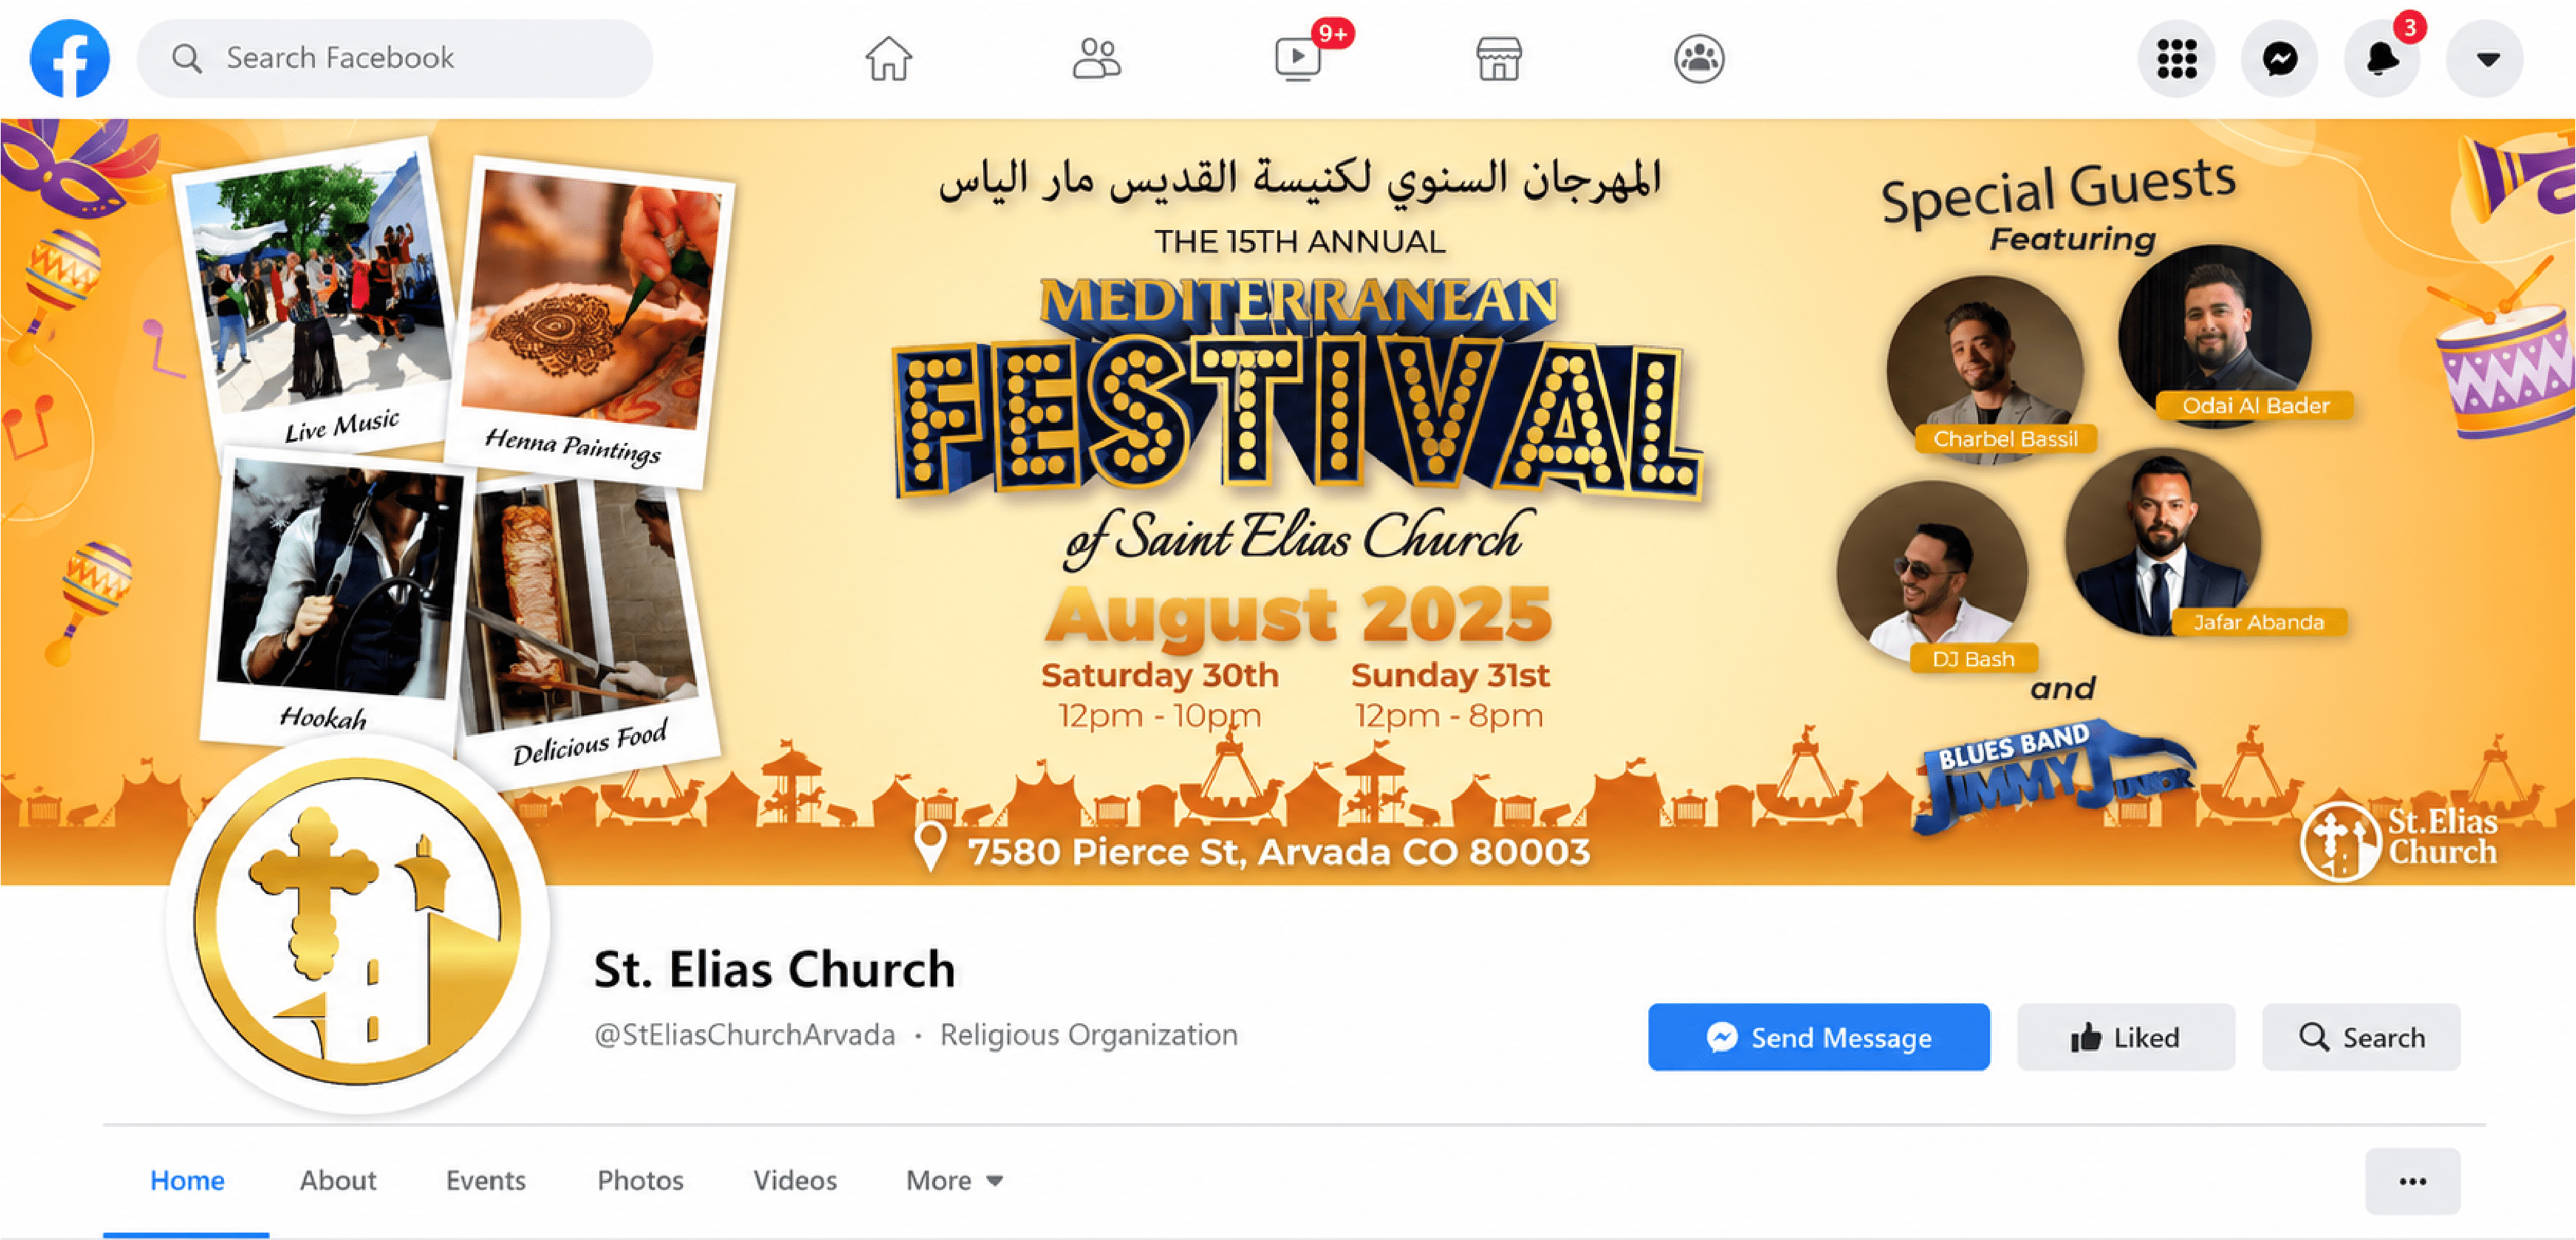
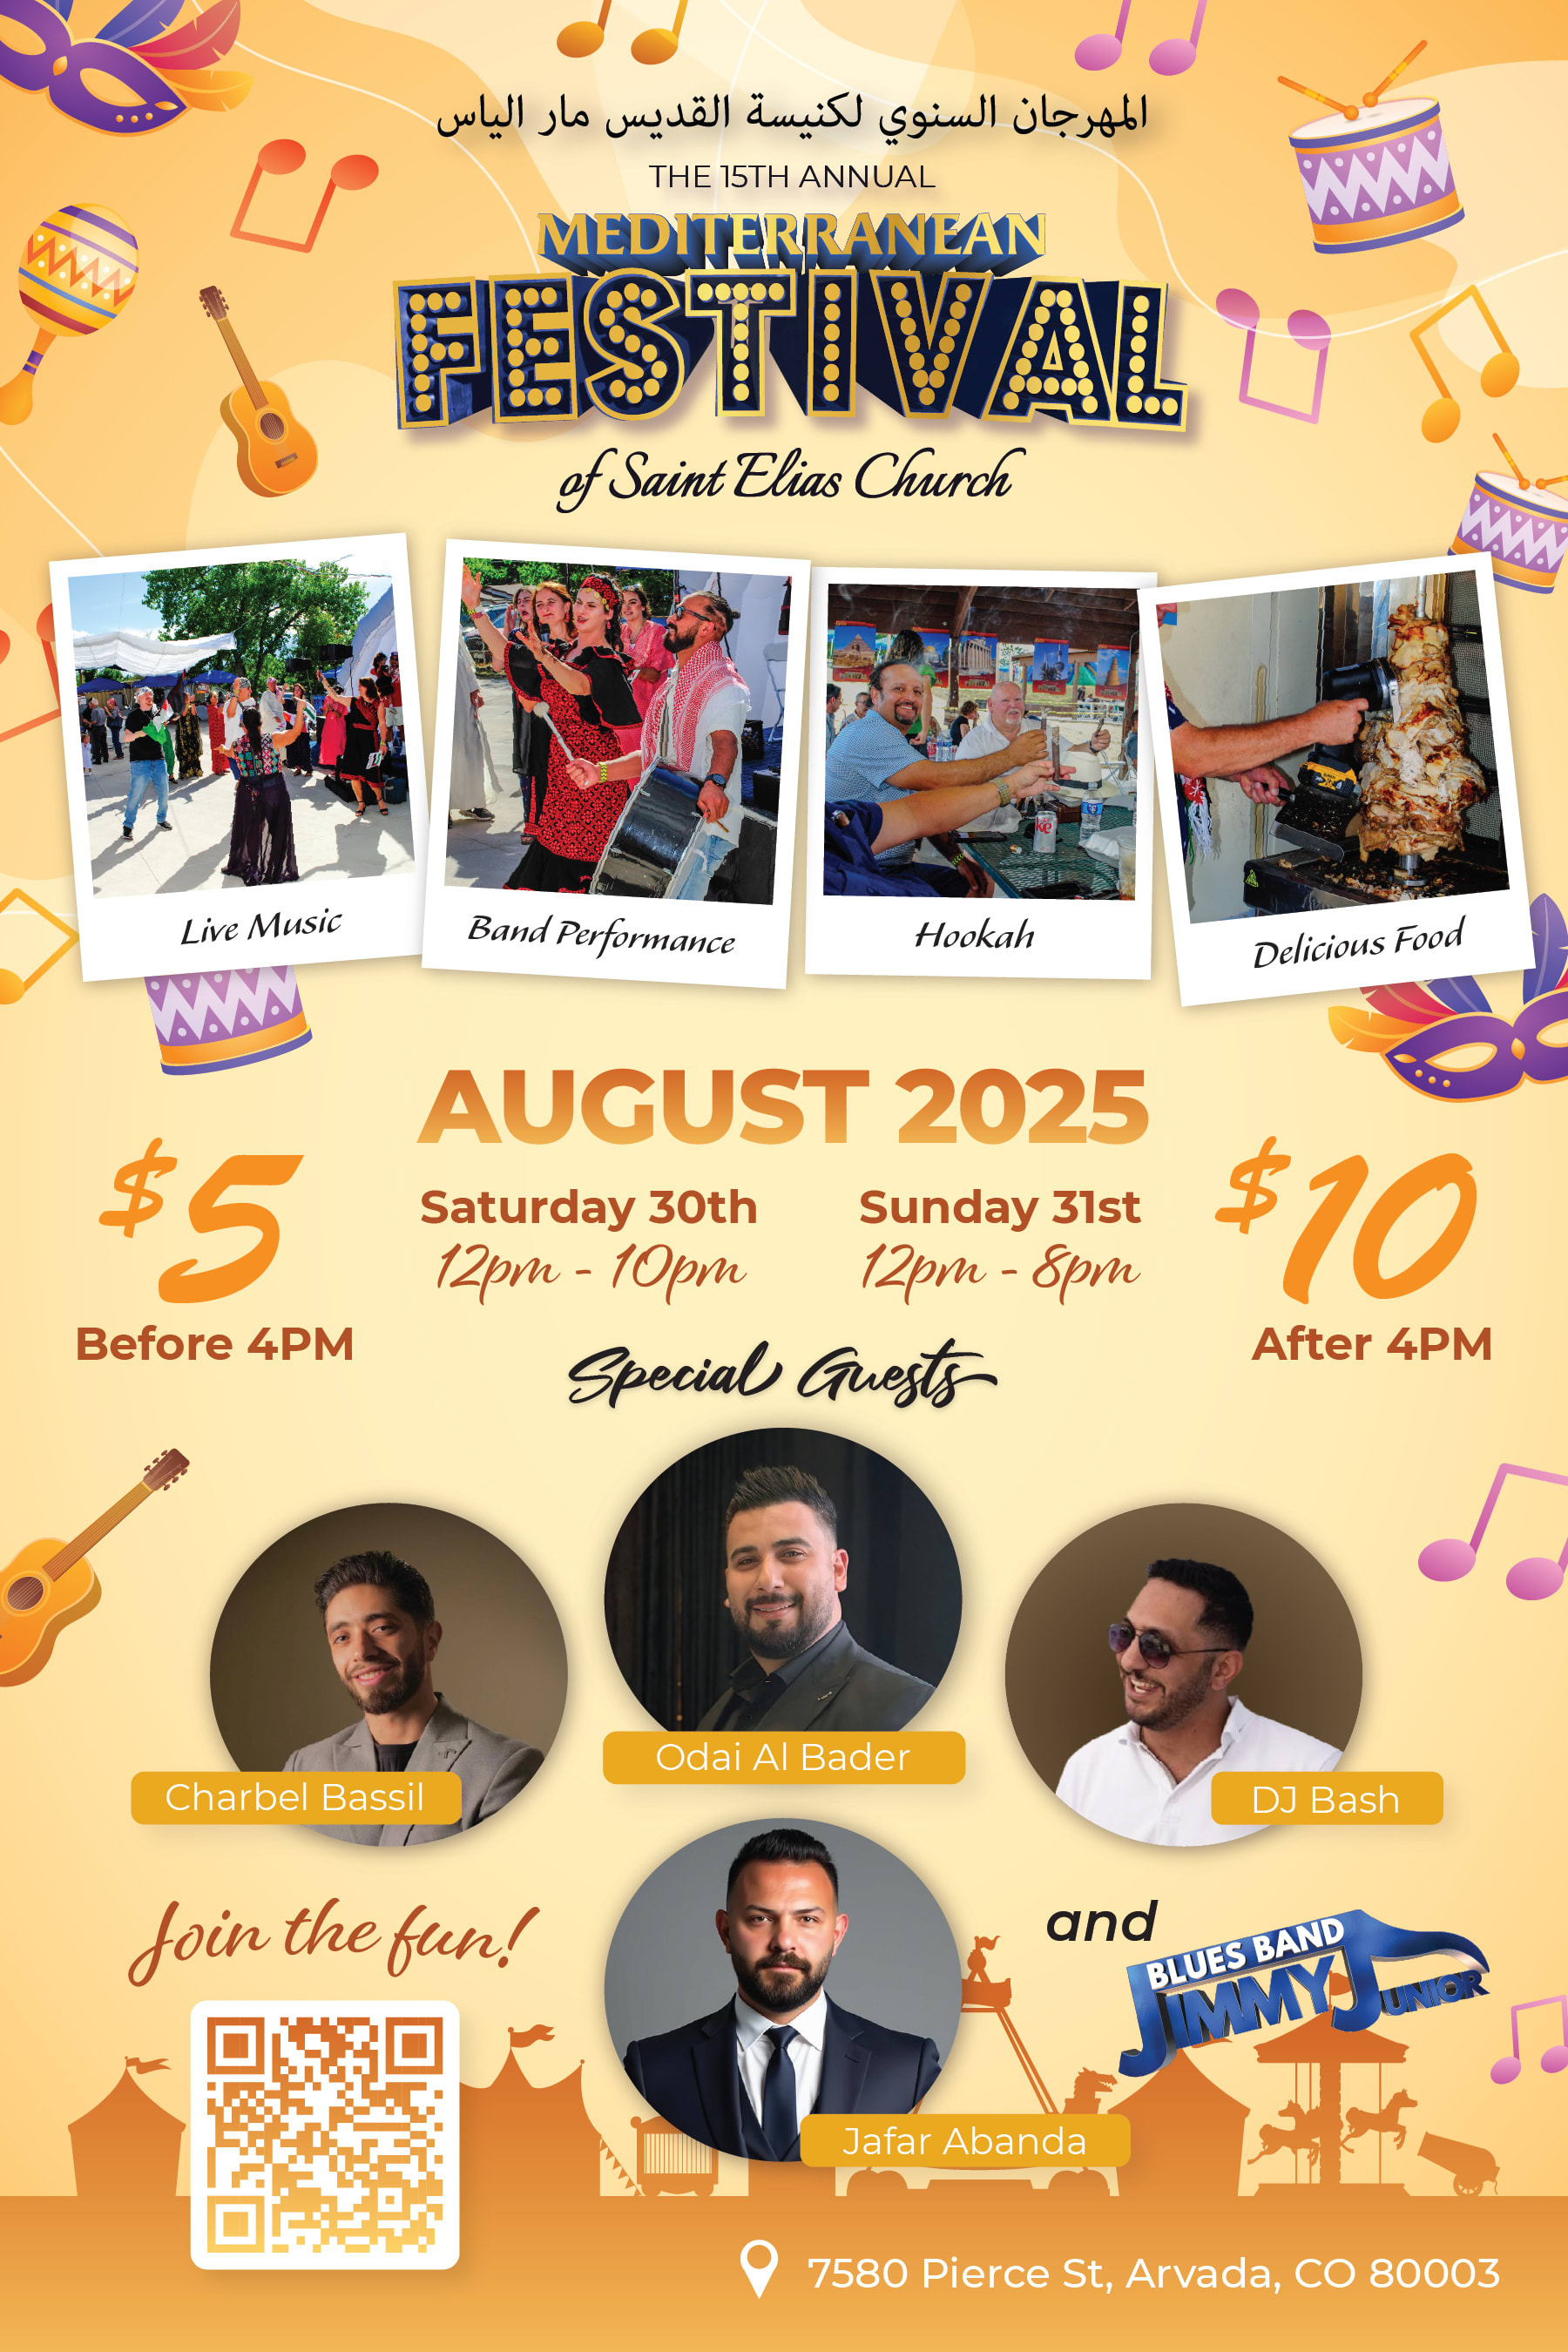
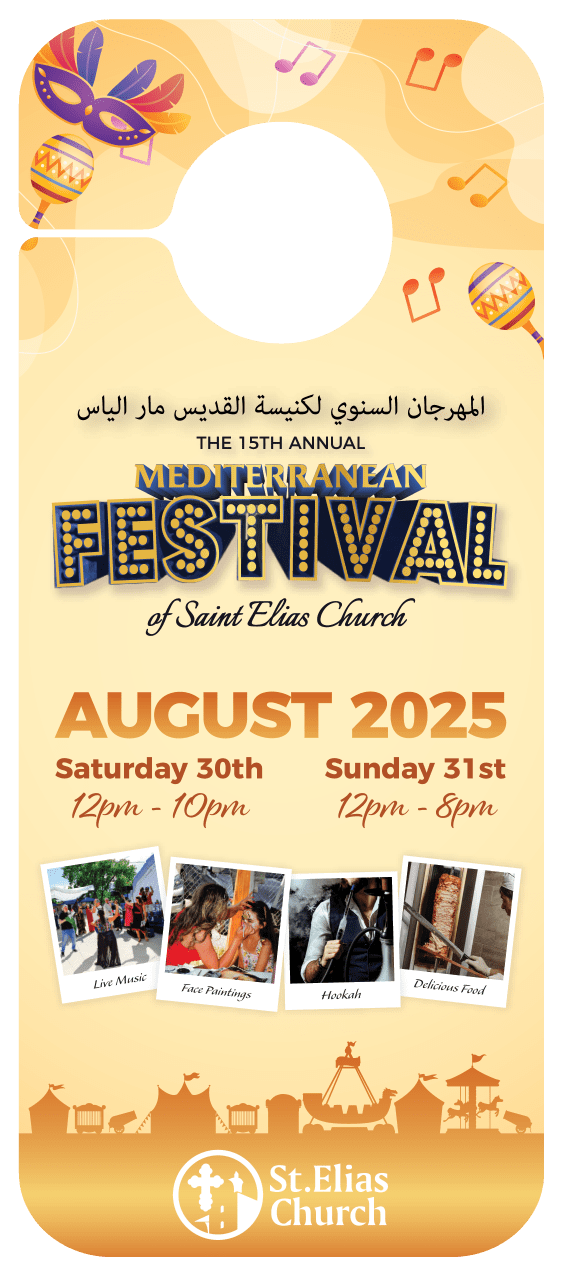
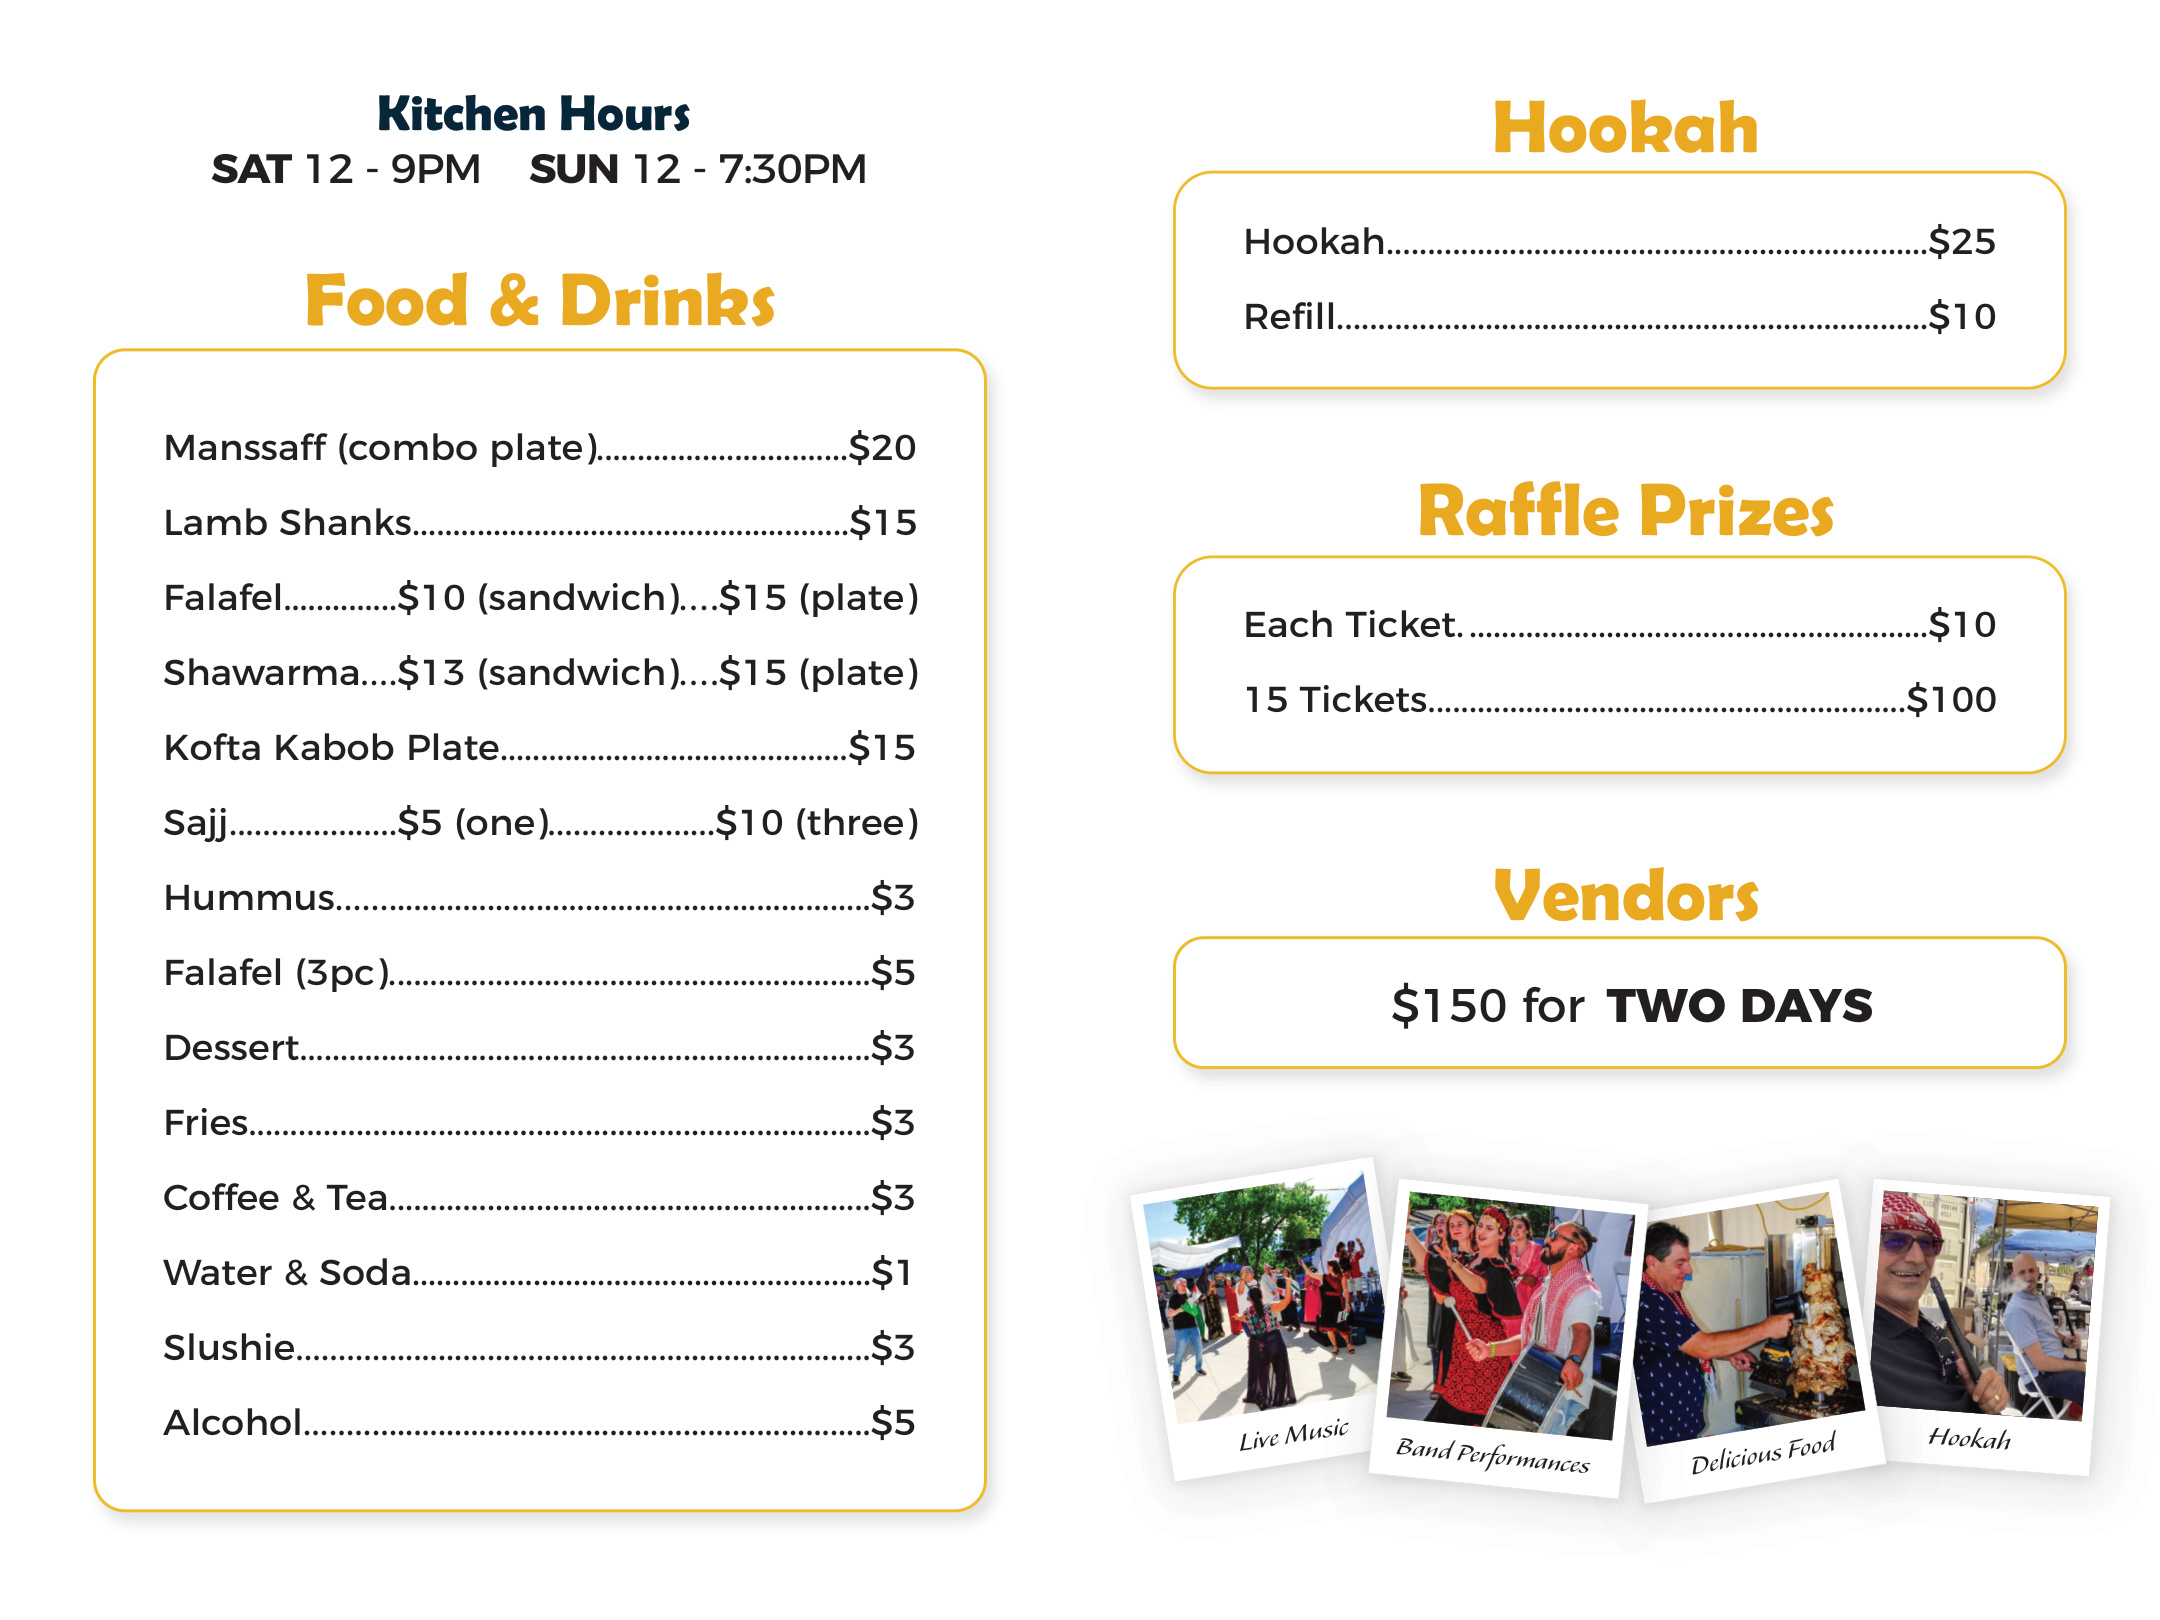
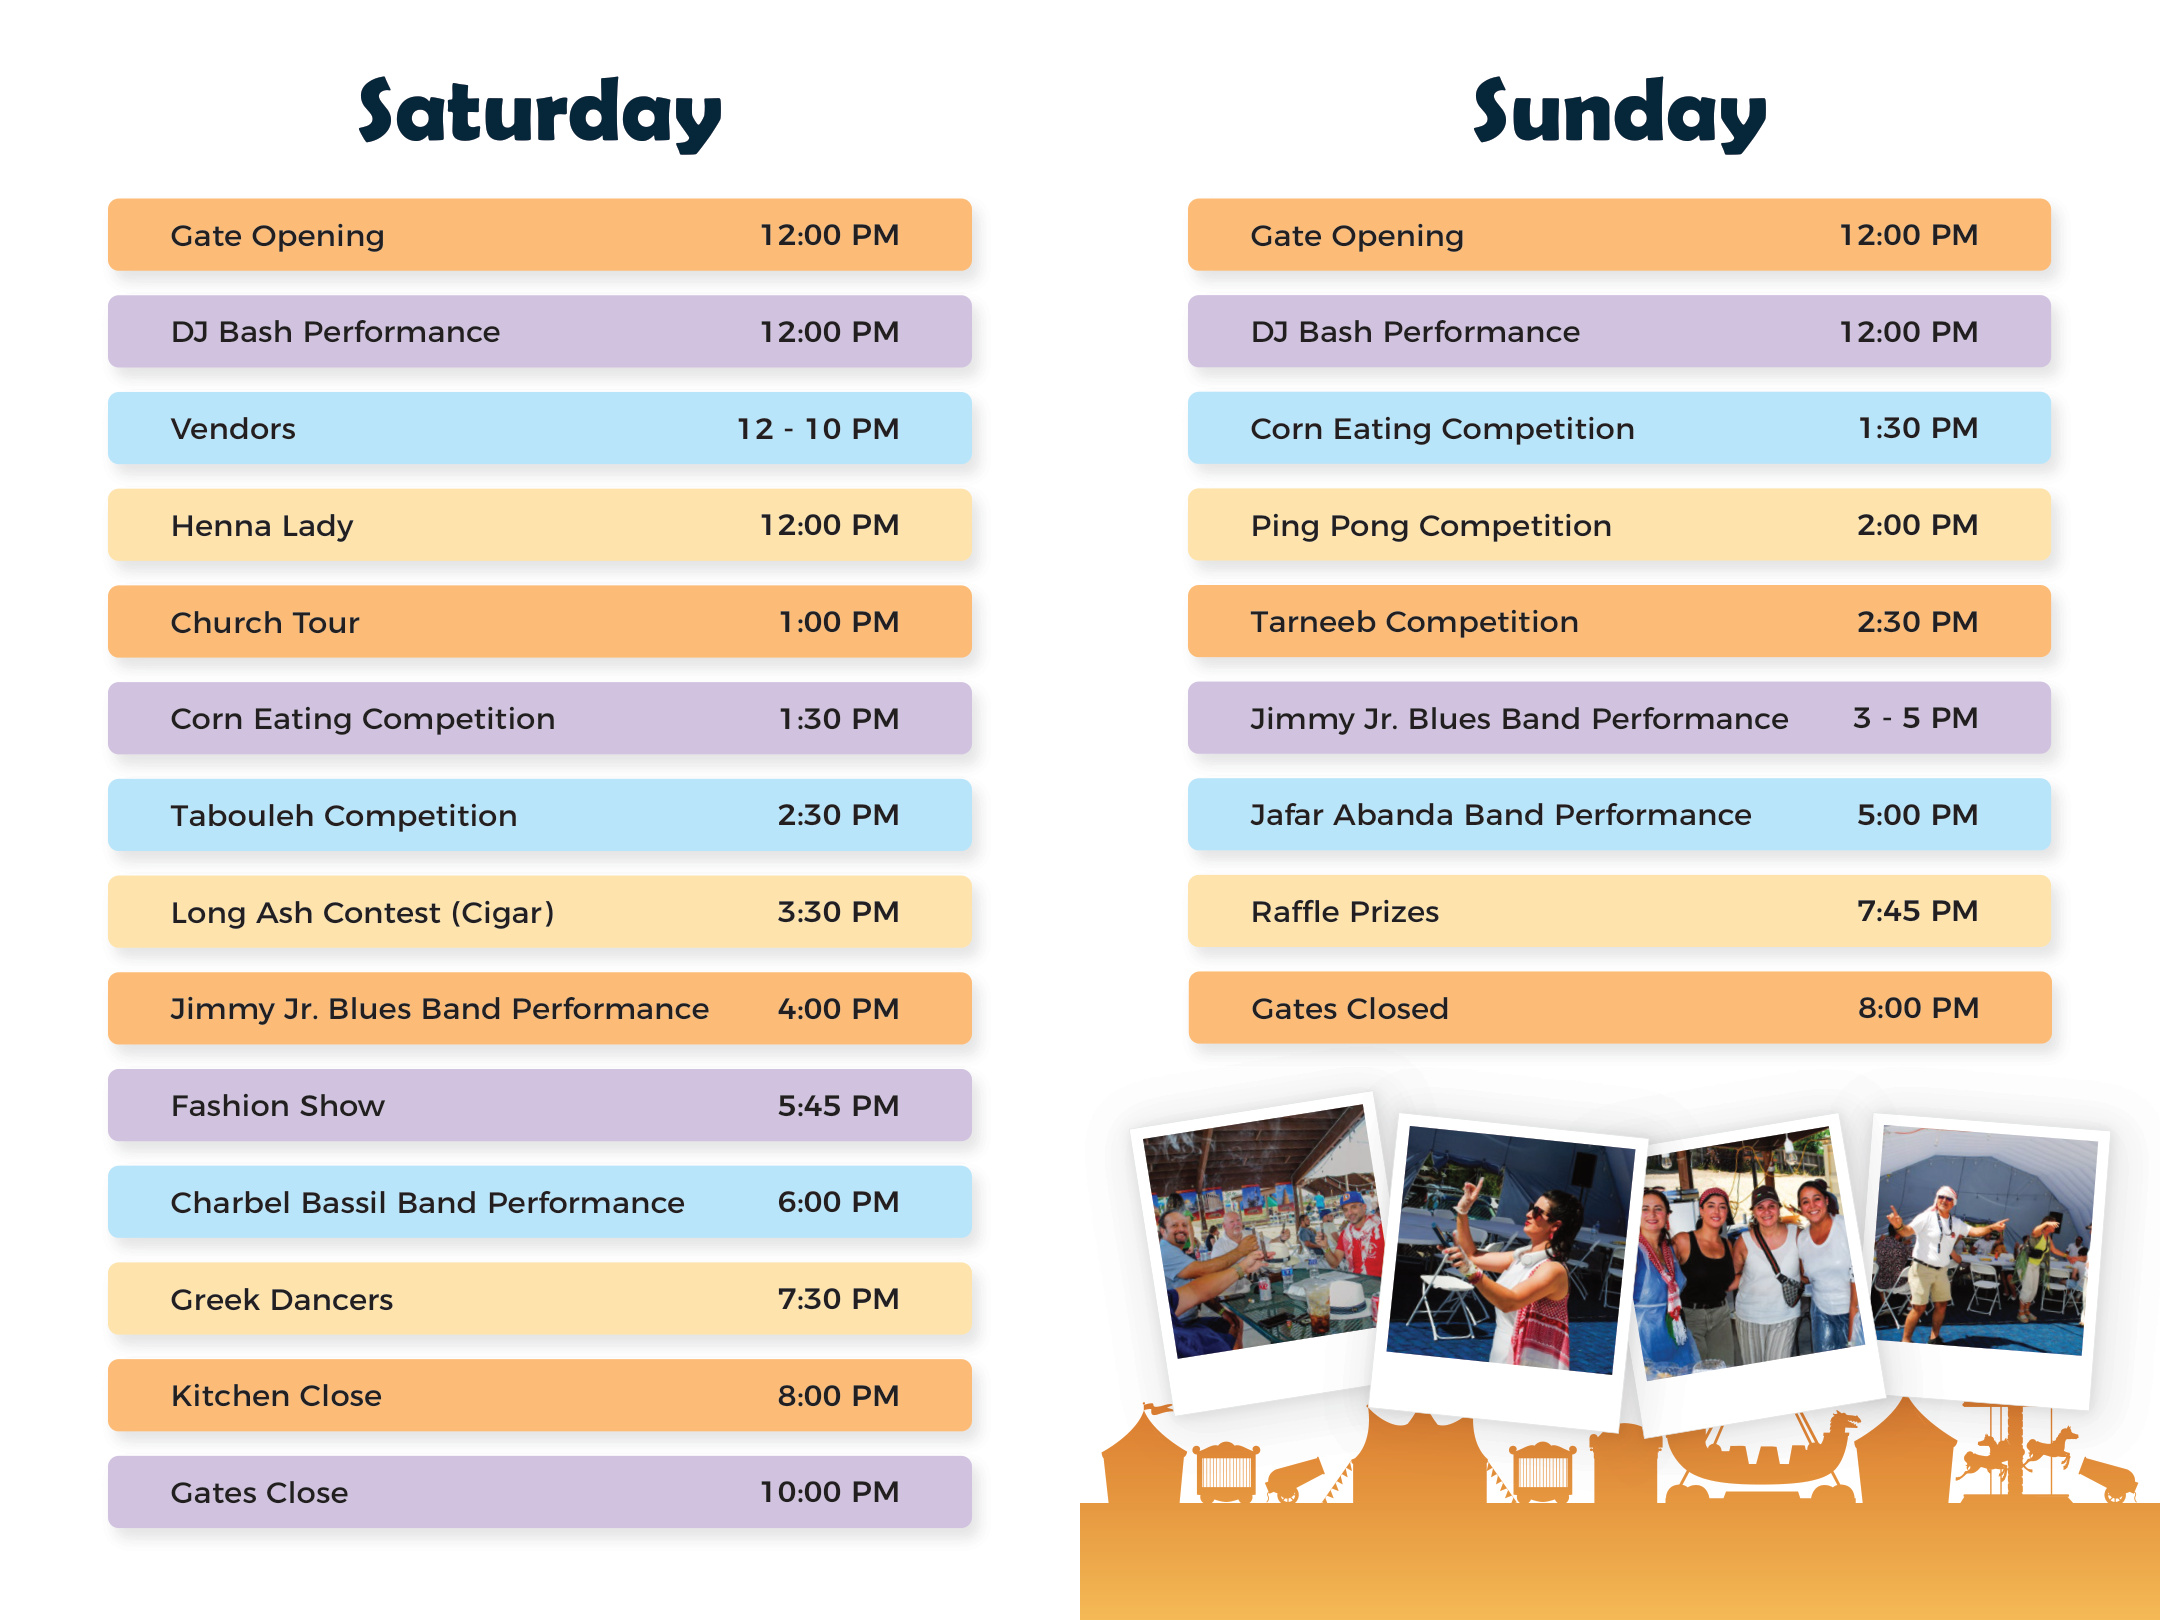
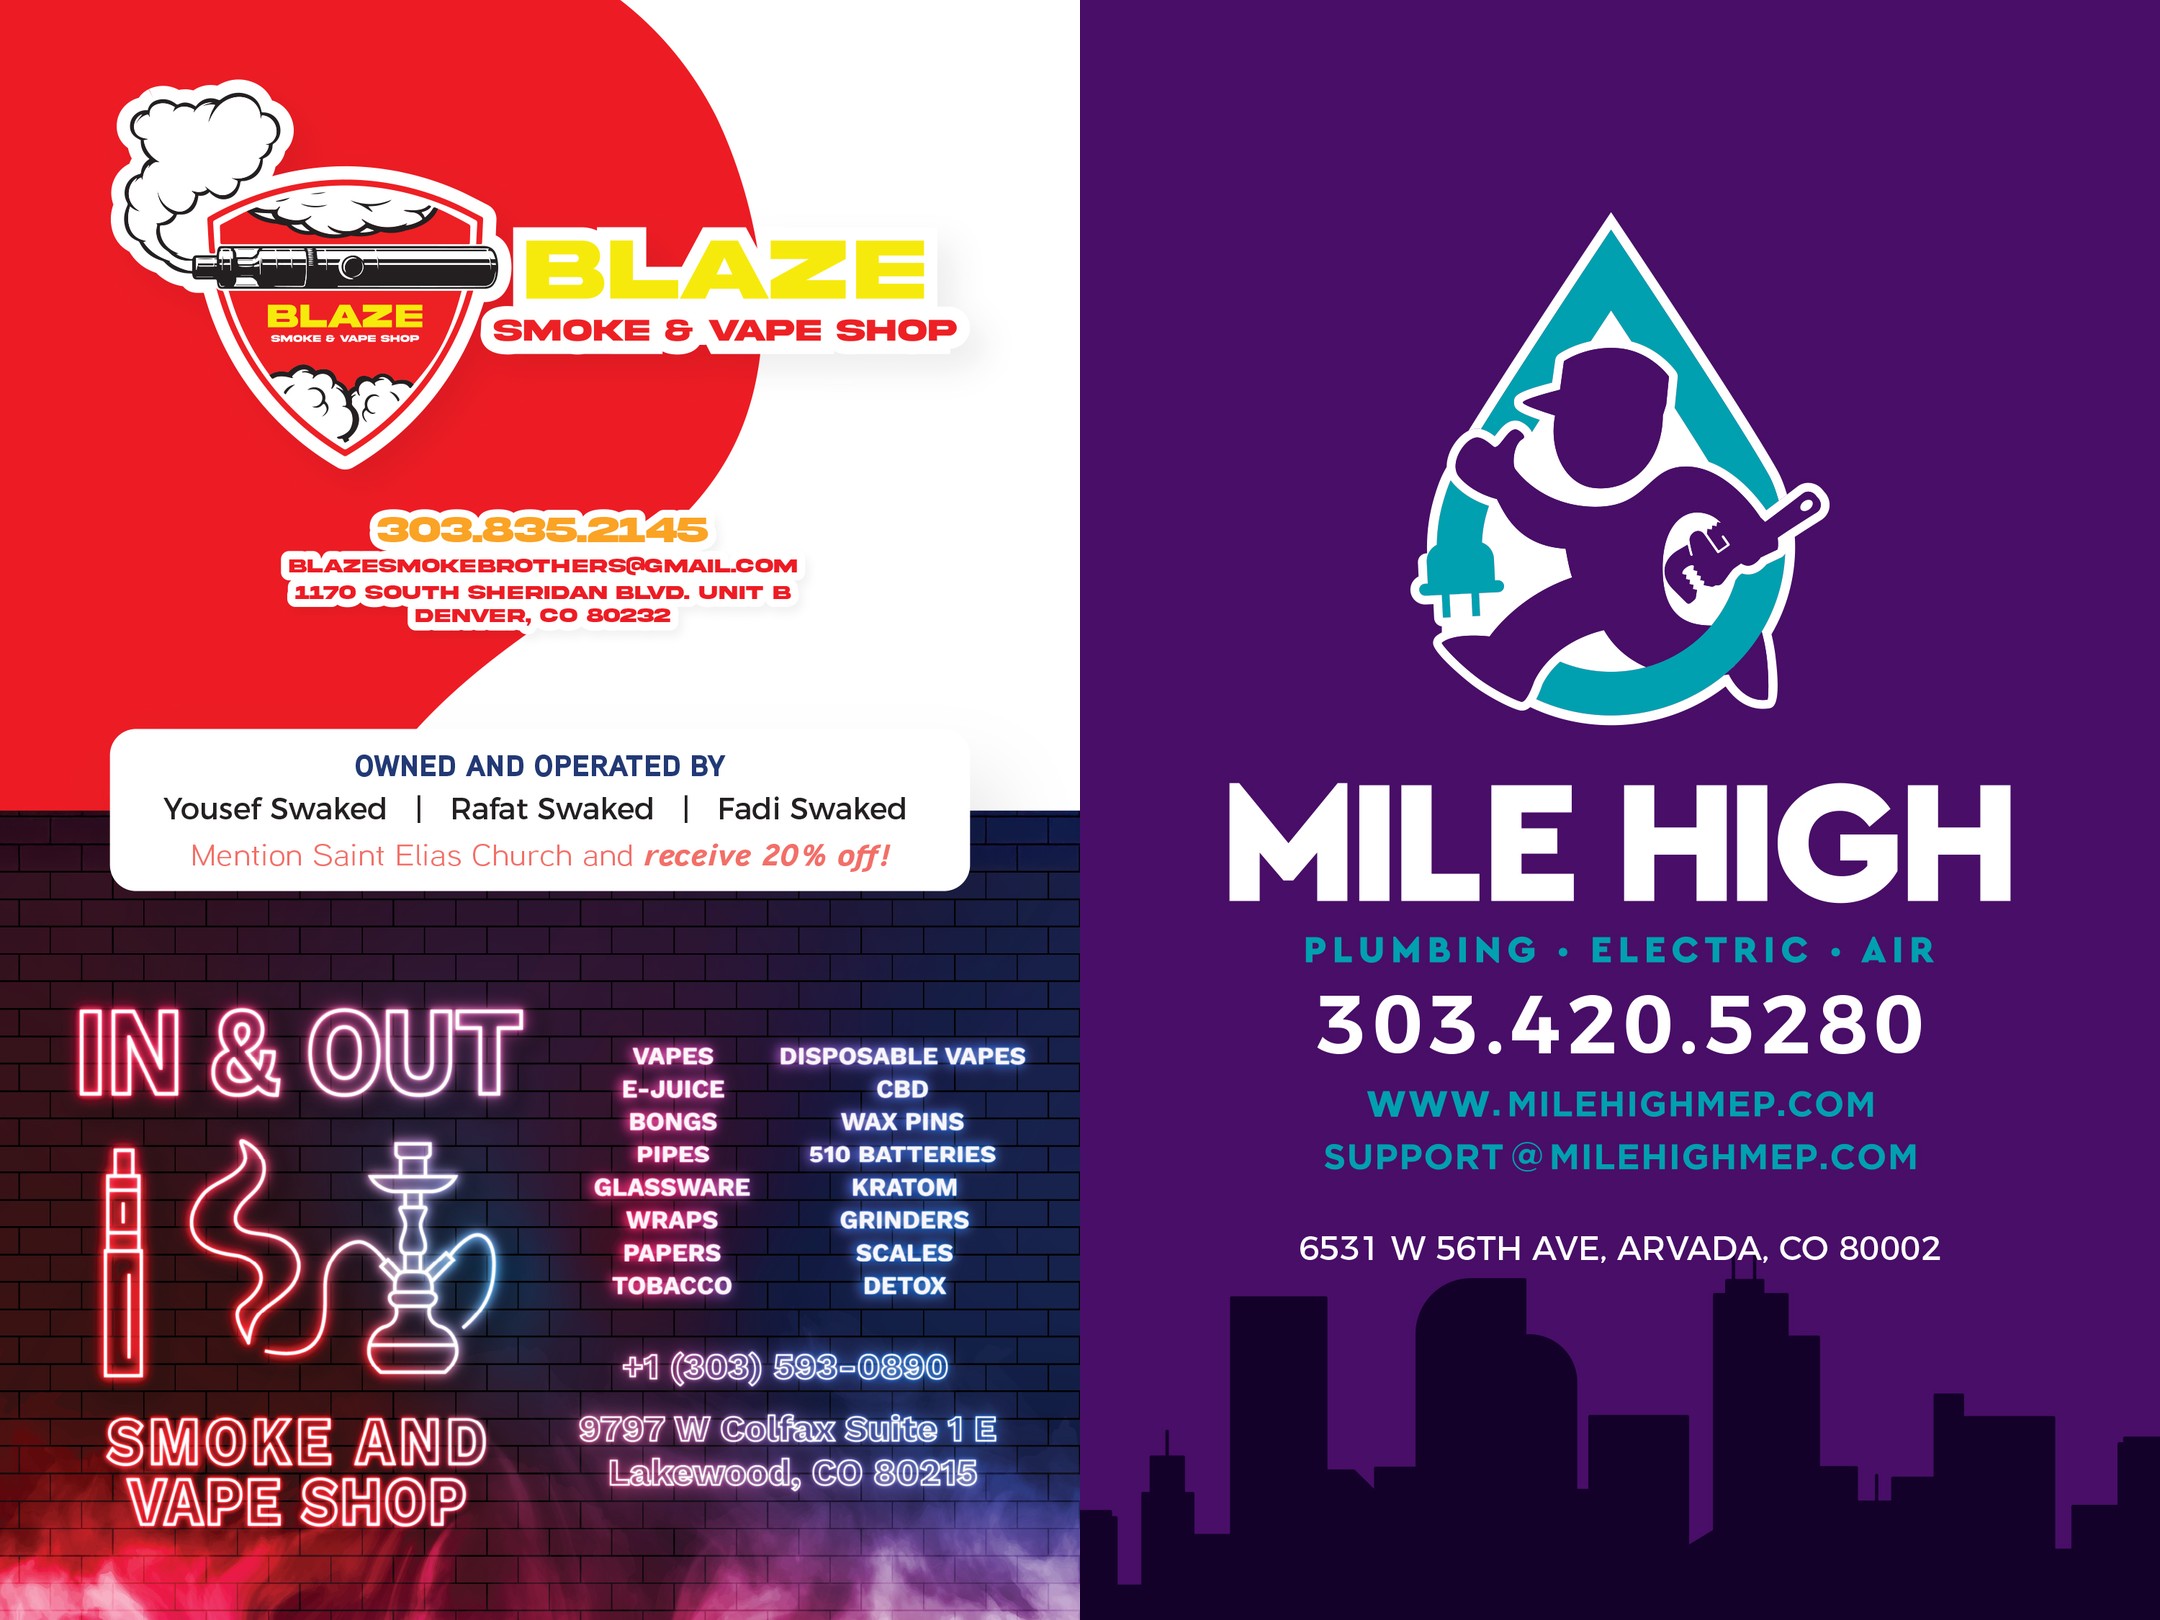
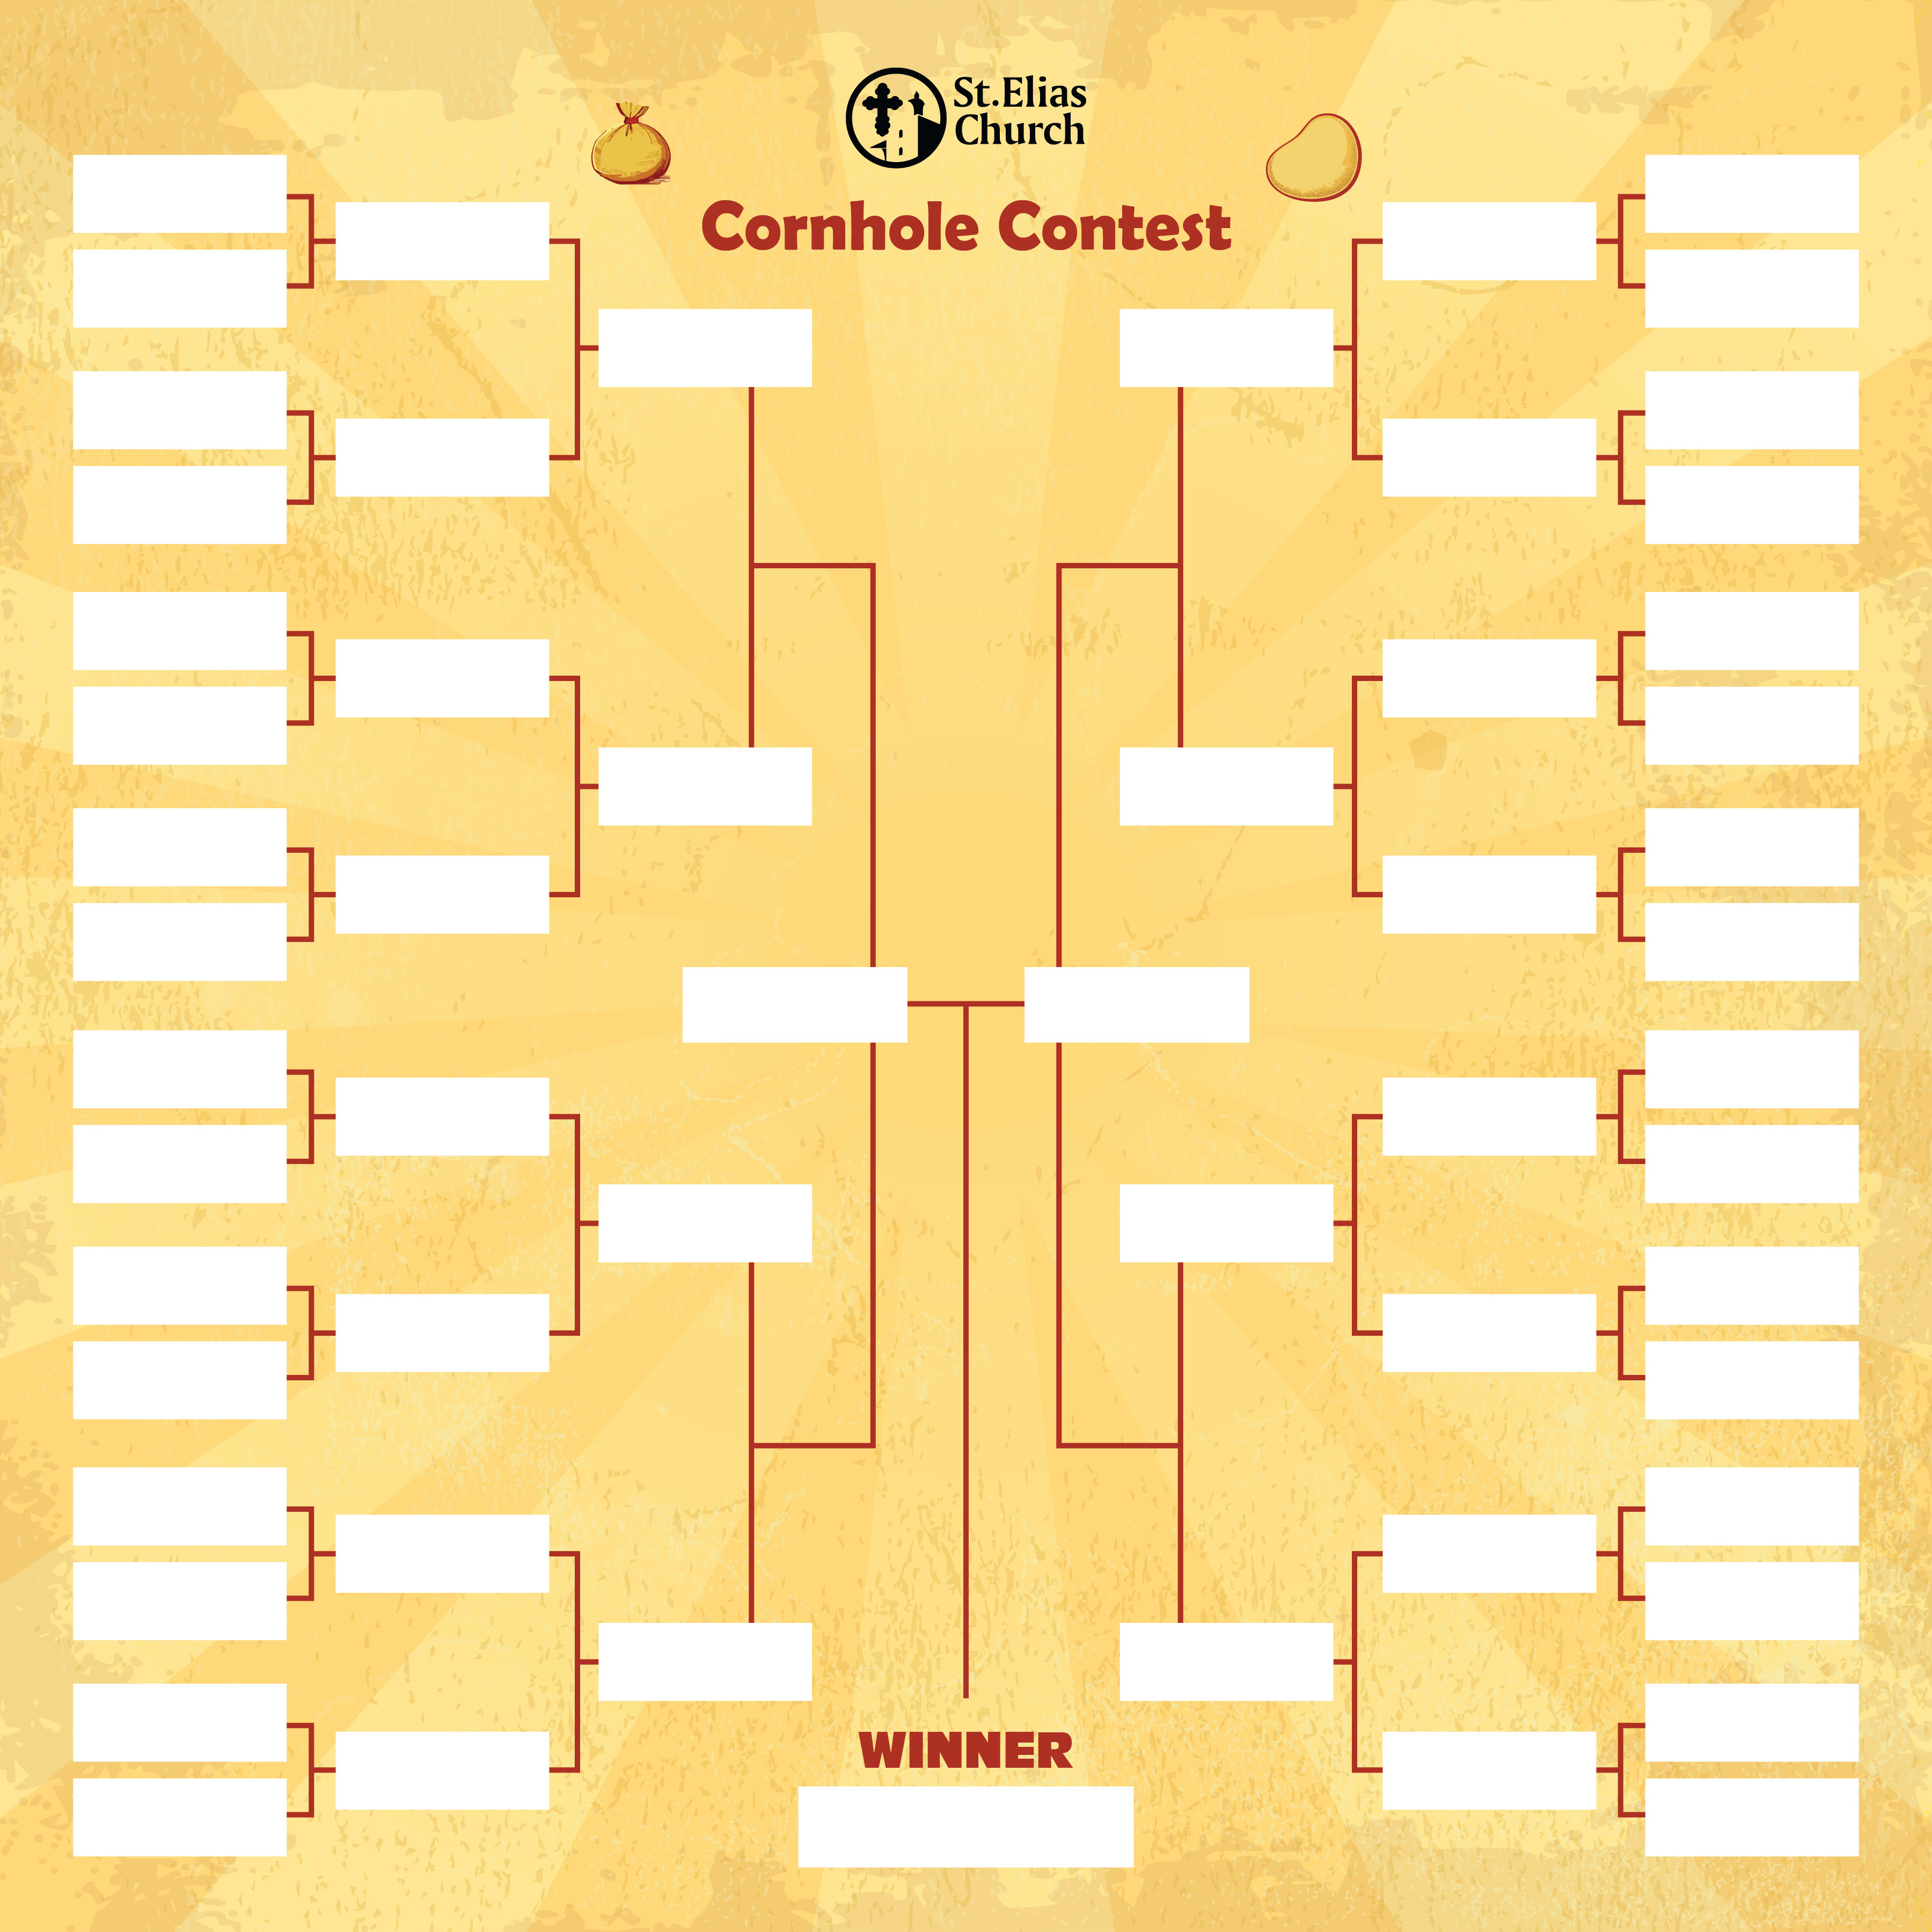
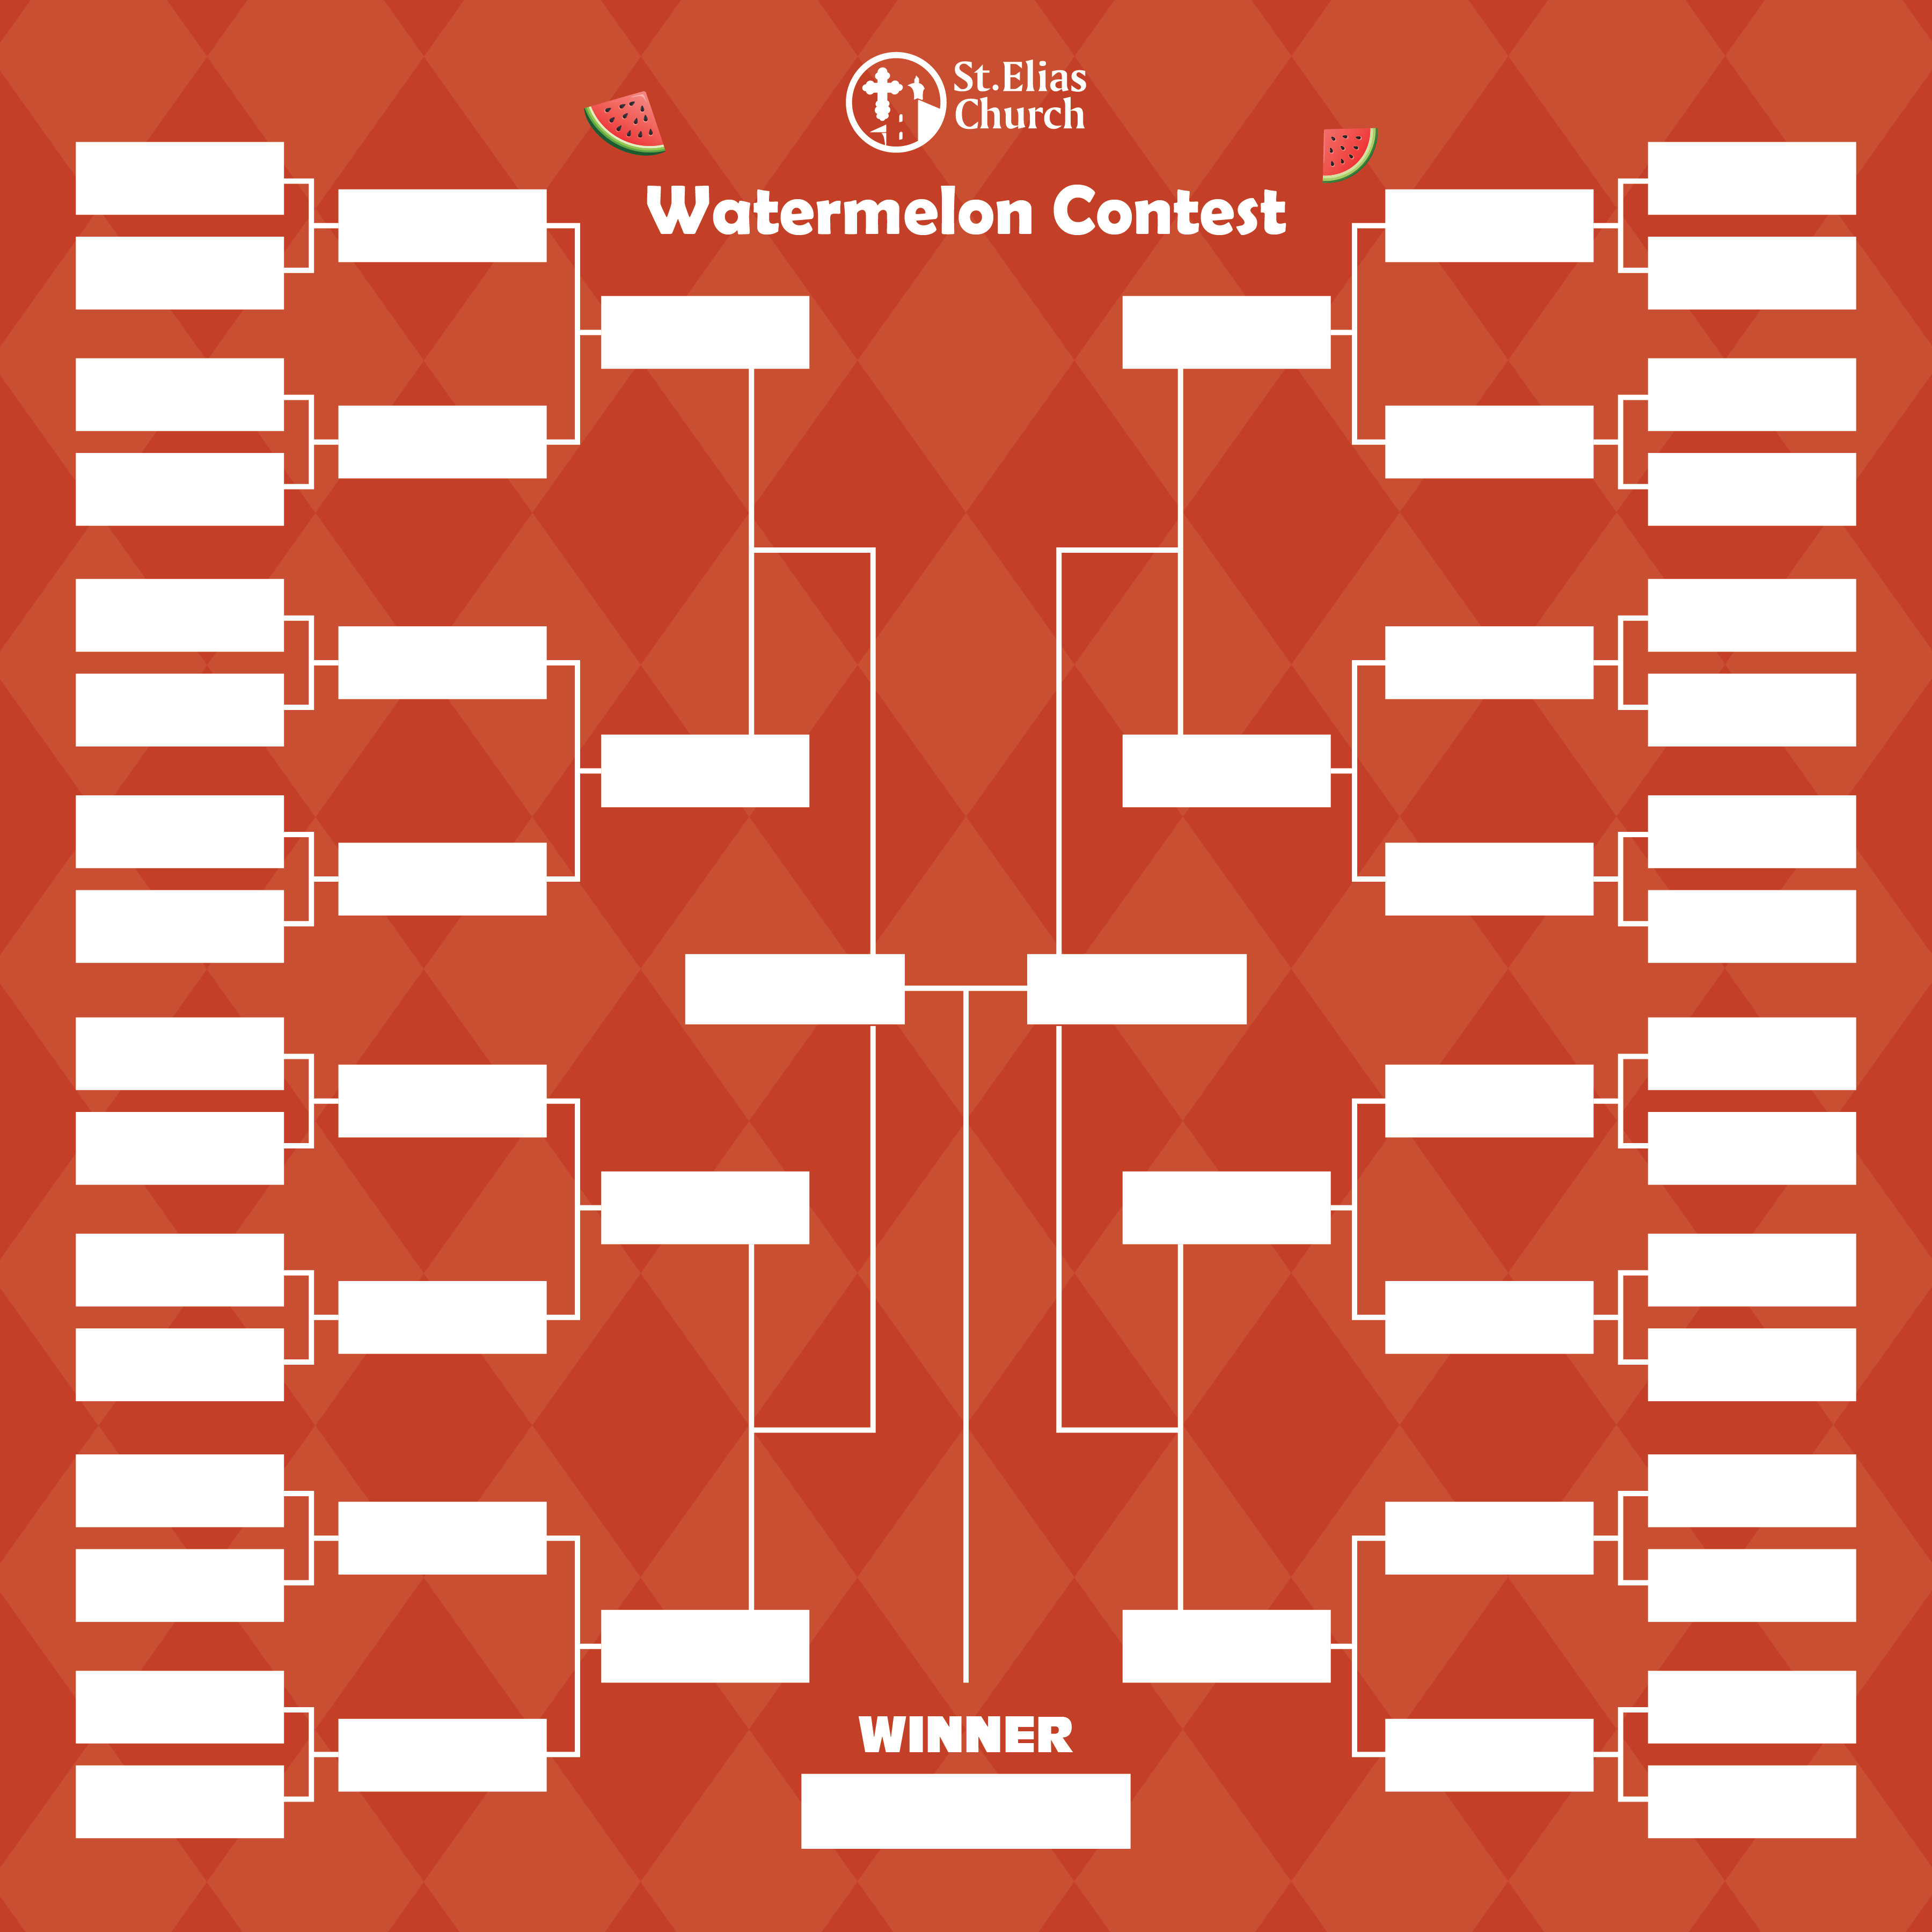
Featured Work